Metalheadz Logo Lamp
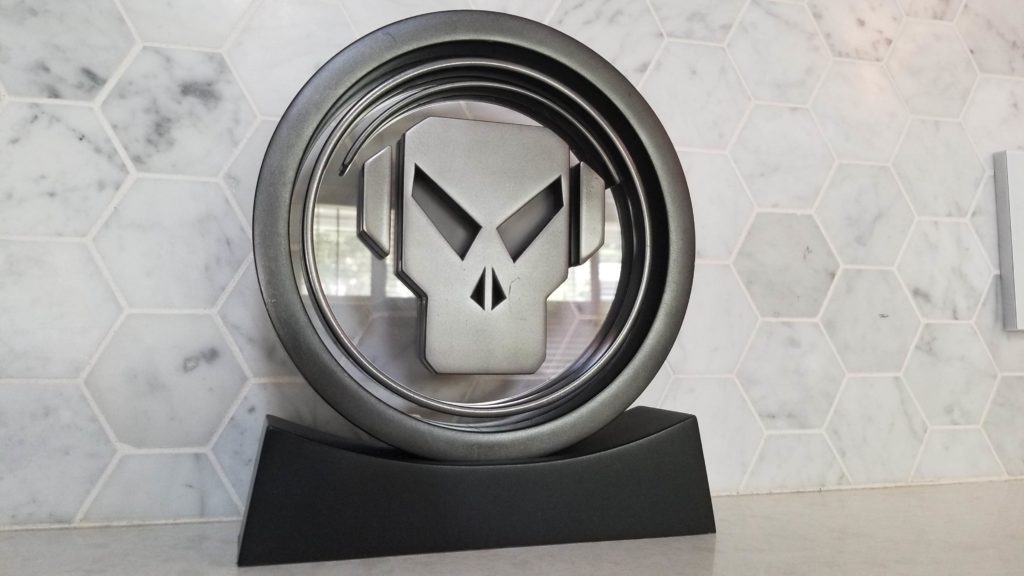
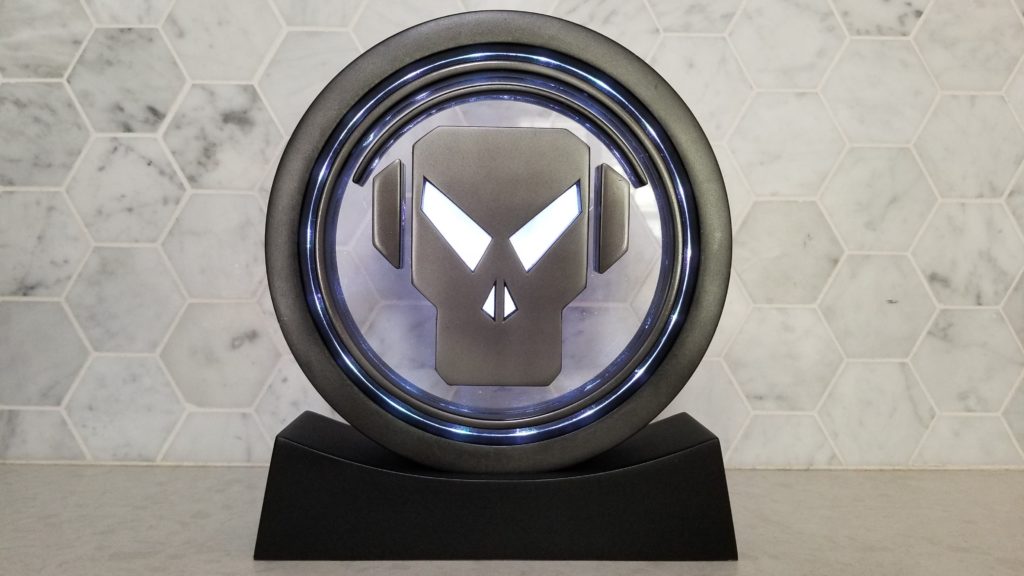
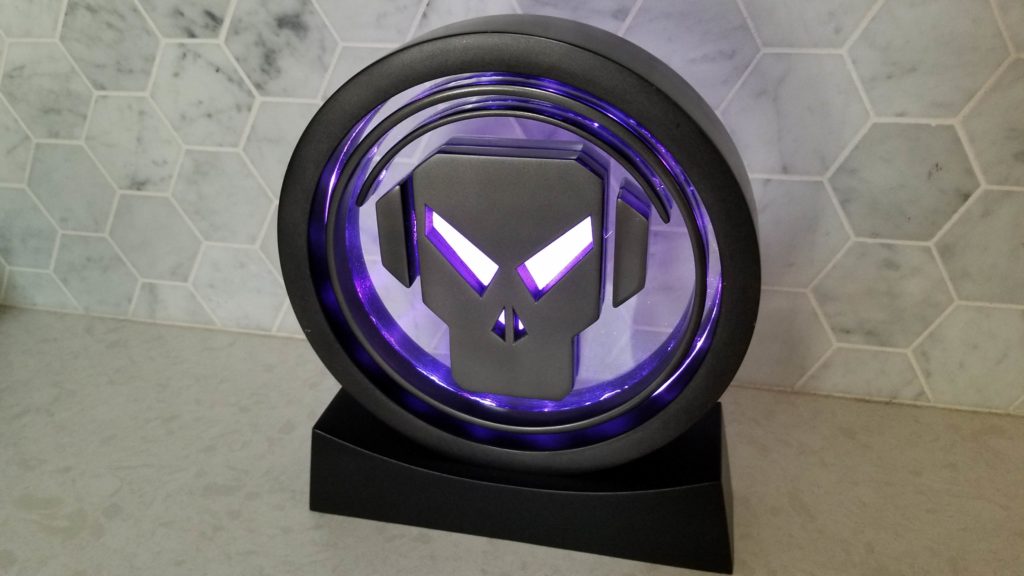
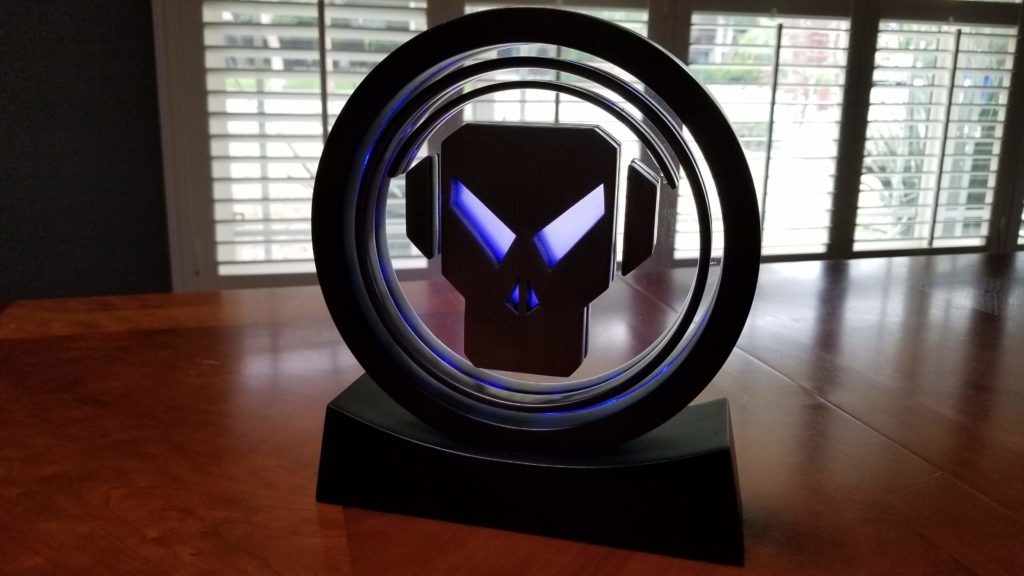
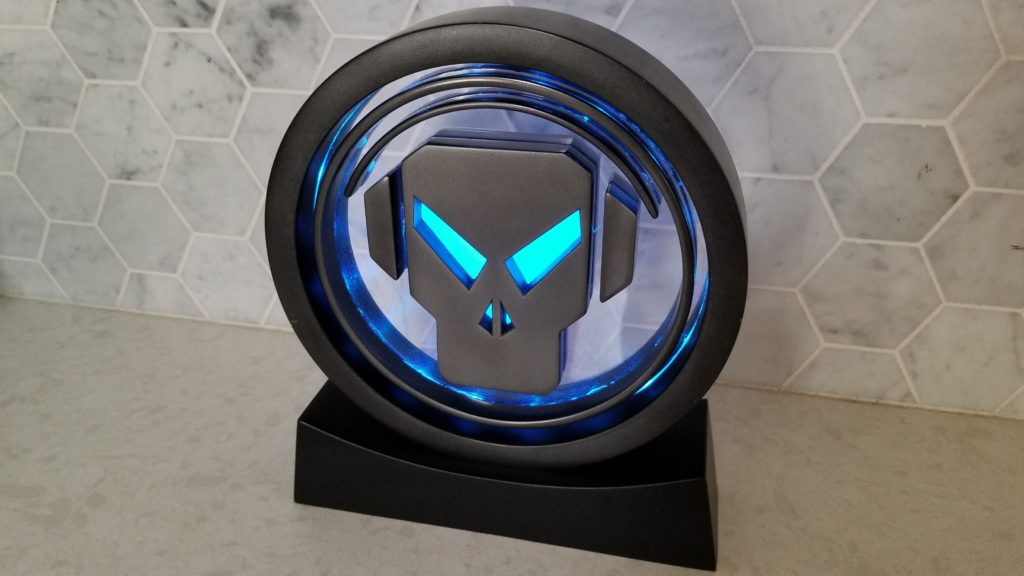
In honor of Metalheadz 25th anniversary this year, I put my newfound 3d modeling skills to the test and designed this lamp based on their logo. Despite its appearance, it’s entirely 3d printed in plastic (except for the clear acrylic sheet) and only weighs a pound and a half (with batteries).
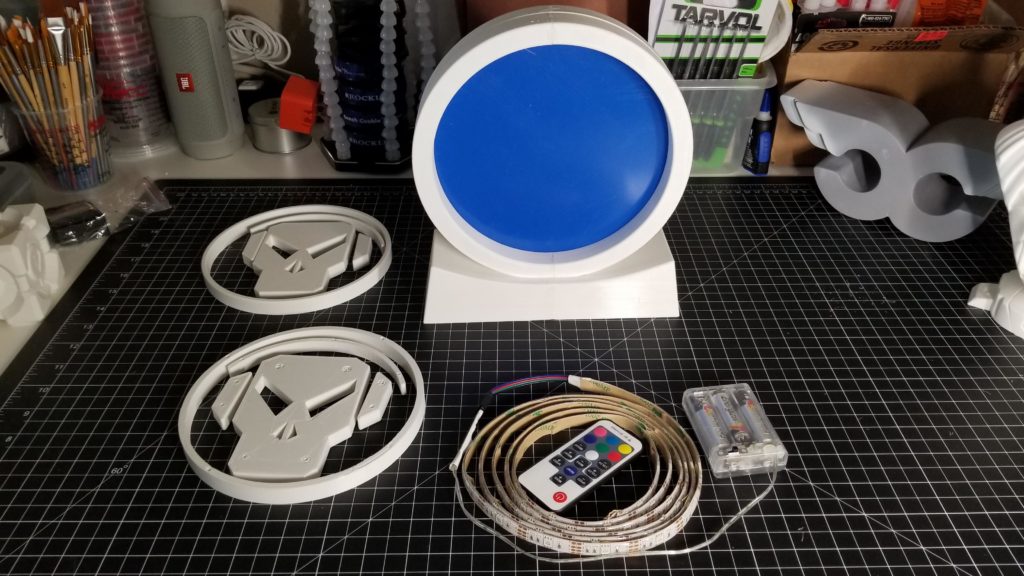
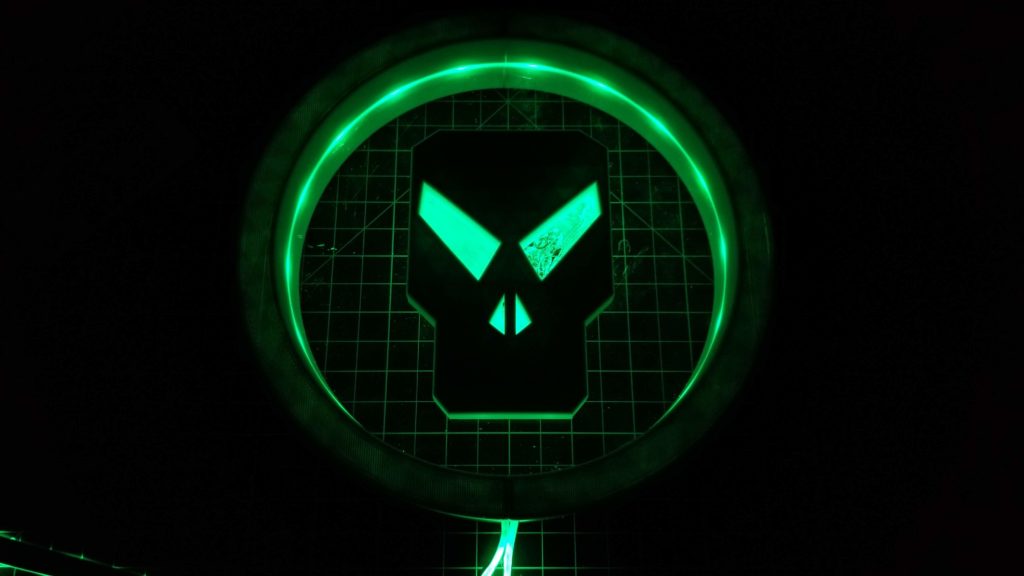
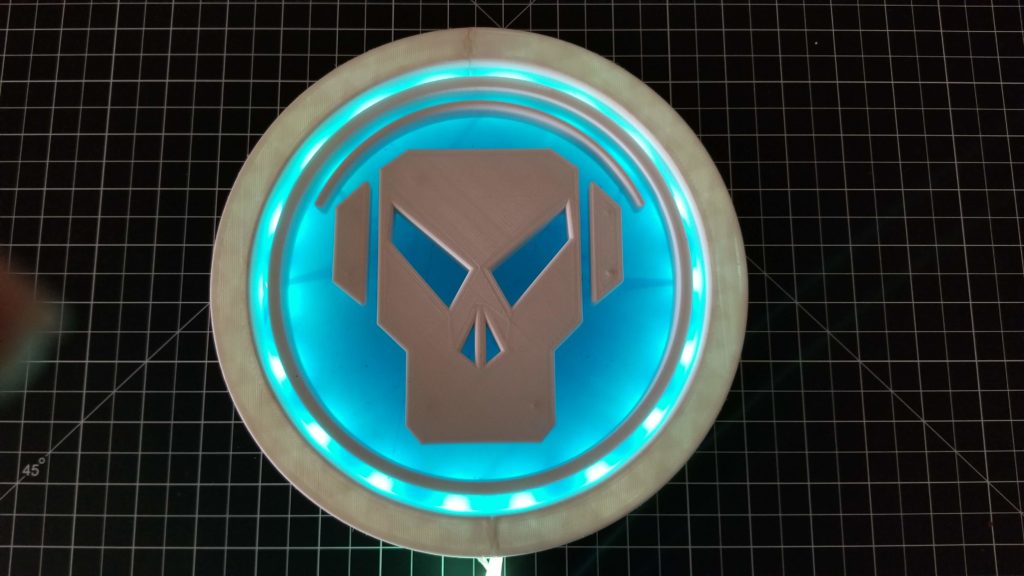
After printing out the Carl Cox logo, I wanted to tackle a design that was a bit more technical. I started tinkering around in Fusion 360 and this was the result. The logo will be mounted on a clear piece of acrylic and illuminated by LEDs installed in the outer ring. The battery pack for the lights will be housed in the base.
(Scroll to the end of this post if you just want to see more of the finished product)
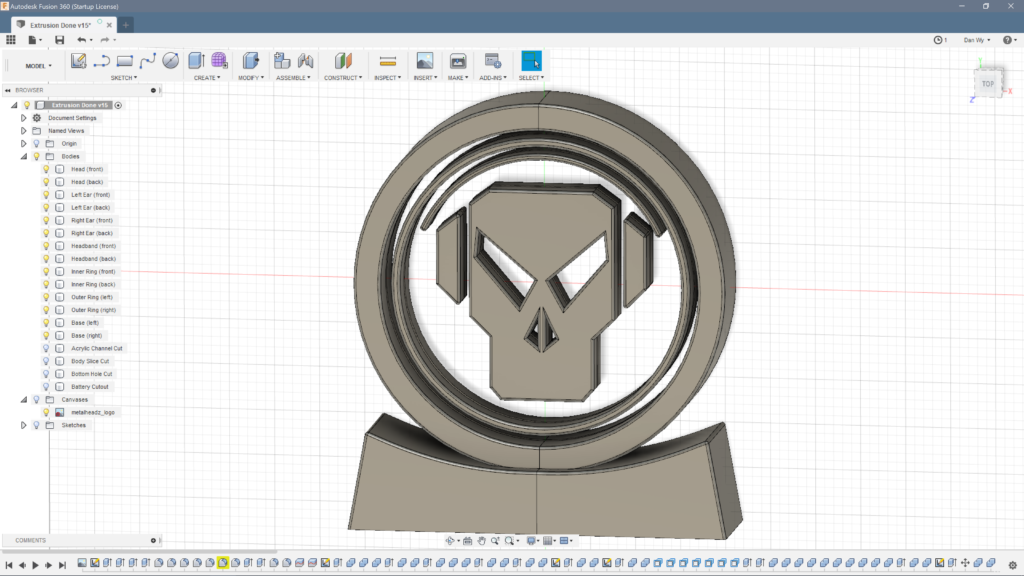
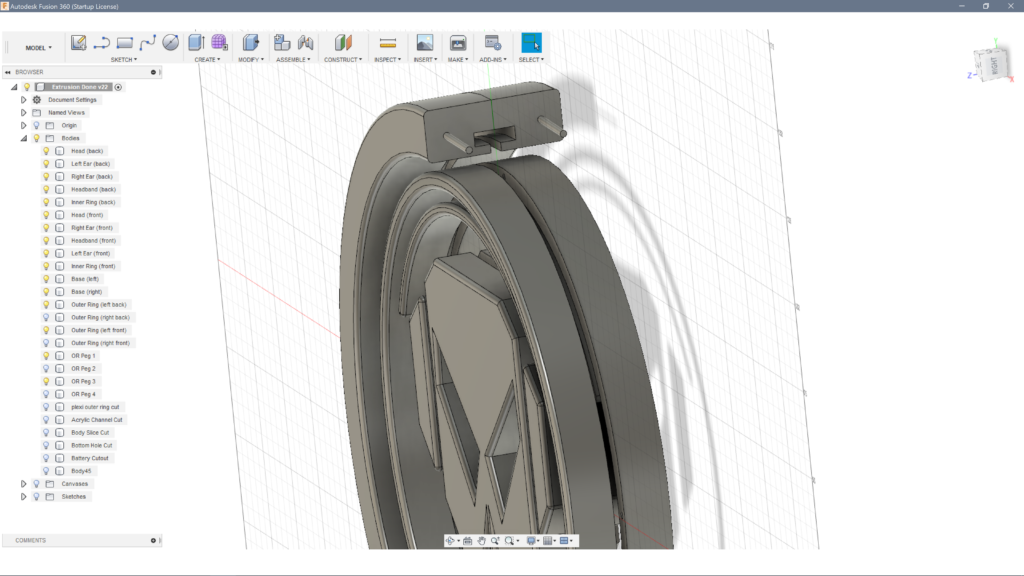
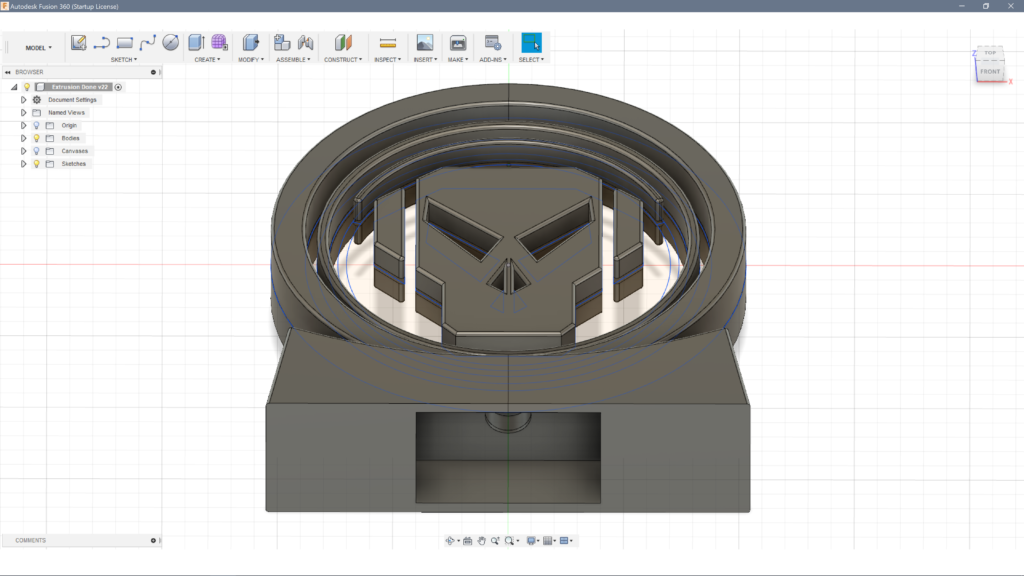
With the model done, it is ready to start printing! (I didn’t take a lot of pictures of that part because, well… it’s boring). It was printed with a PLA filament using a 20% infill. This gives it some strength/rigidity while still remaining lightweight.
The main logo came out great, but the outside ring had some problems. 1) It’s just a little too big for my printer so I had to print it out in two halves. 2) The cutout for the acrylic/lights needed supports to print and when I tried clearing them out, it visibly chewed up the plastic. 😕
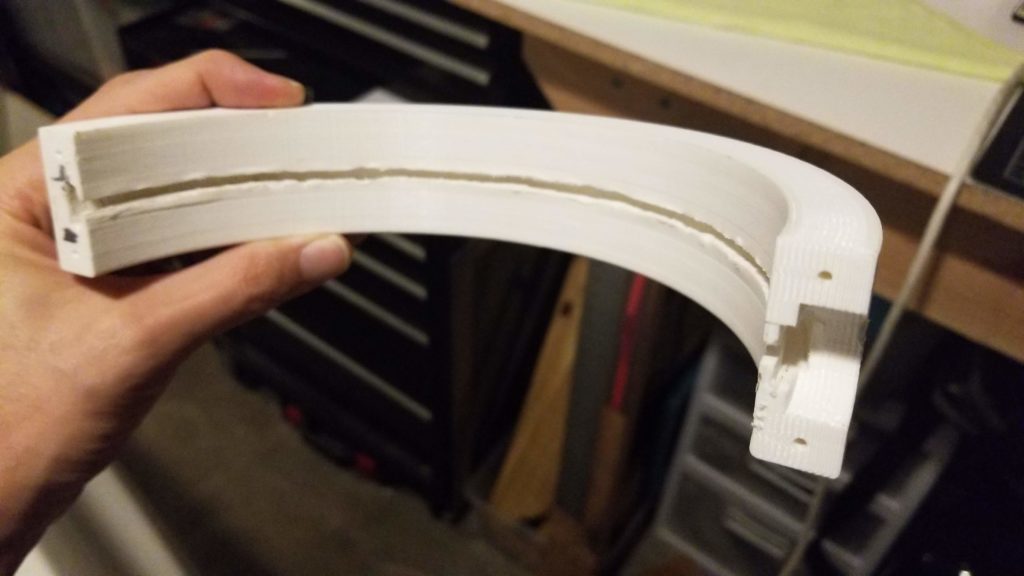
I had to redesign it and print it out in 4 pieces (front left/right, back left/right) instead of 2 (front & back). With the alignment pegs, it will all fit together.
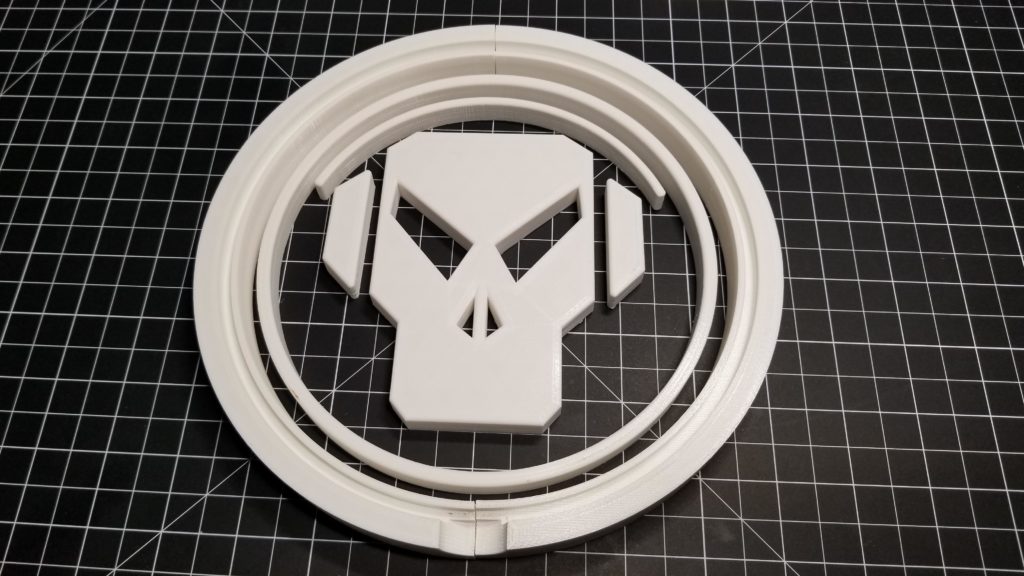
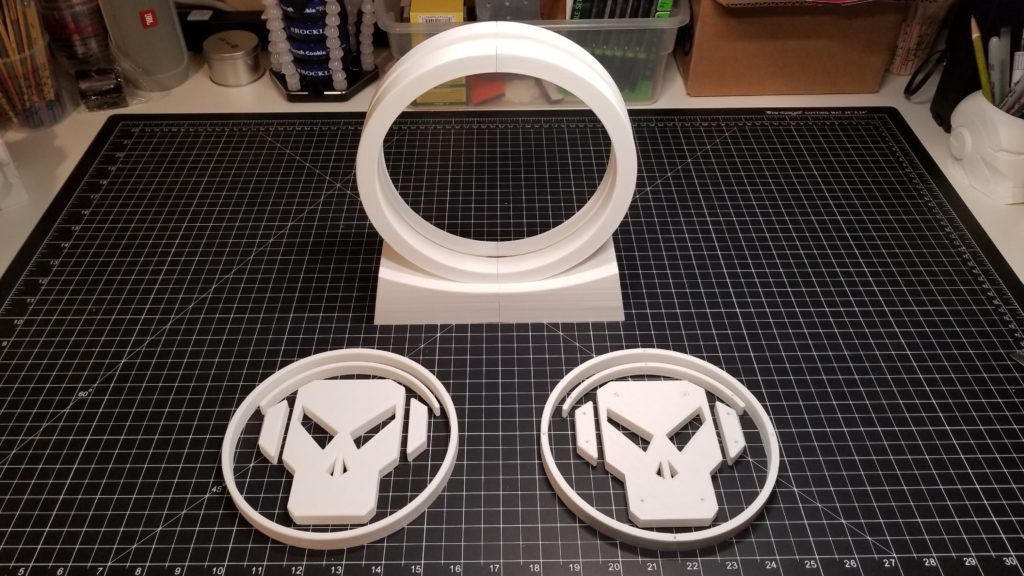
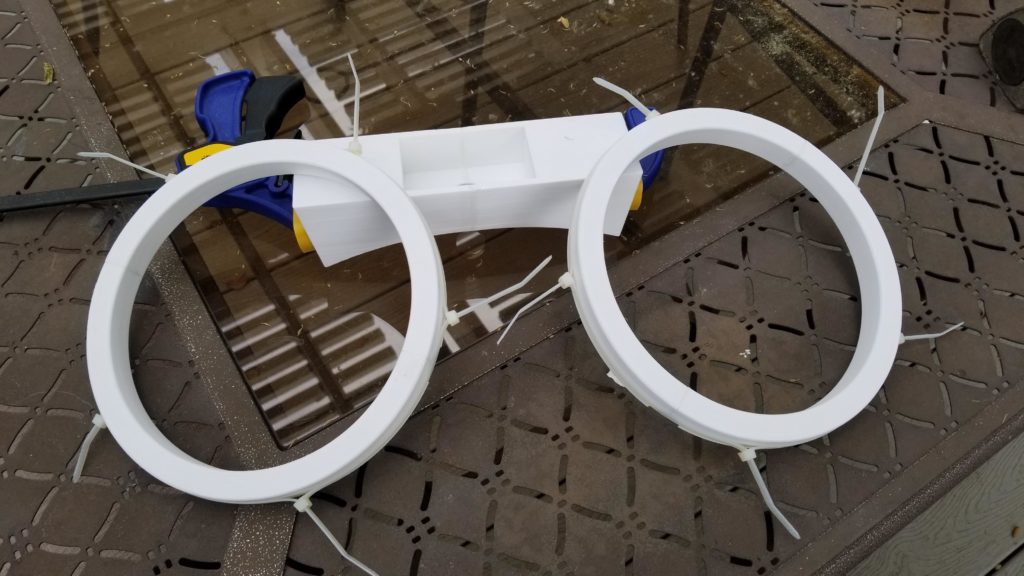
After confirming everything fit together, I used 5 minute epoxy to join the two base pieces and rings together. Zip ties were used to hold the ring pieces together while the epoxy dried.
I went to a local acrylic shop to get a few pieces of acrylic cut that the logo will mount to. I incorporated these alignment holes into the design so that I could drill holes in the acrylic to line up the logo.
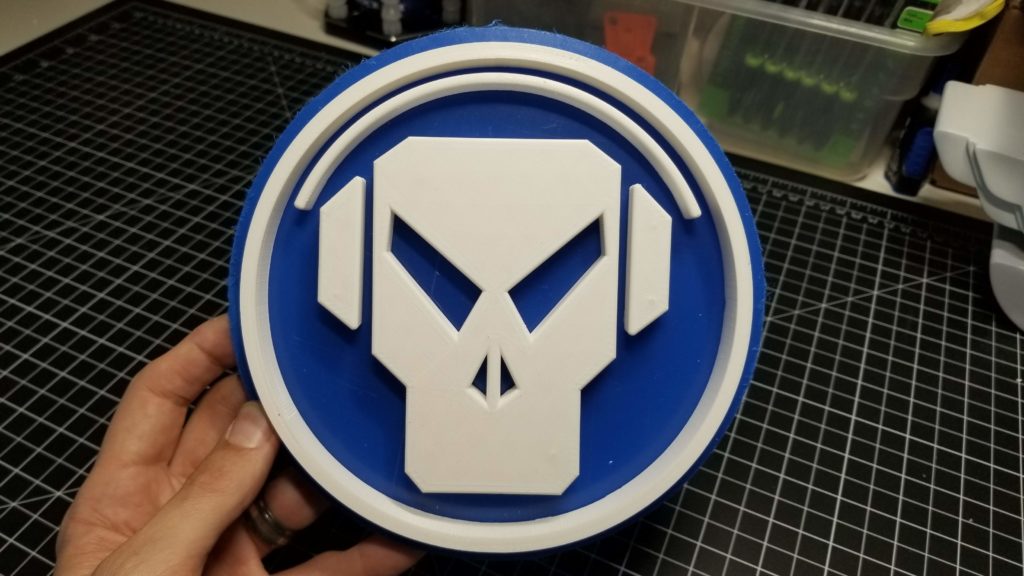
Unfortunately, the pegs cast a shadow when the lights were on, so I’ll have to figure out another way to align and attach the logo later. All the main frame pieces, acrylic and lights are fitting together as intended.
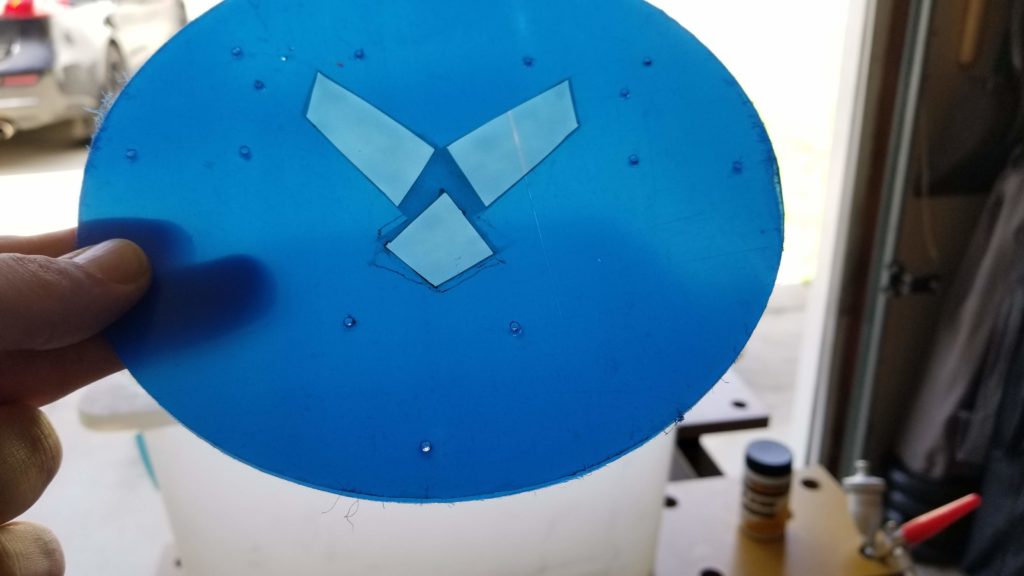
I wanted the eyes and nose to pop when the light is on, so I sacrificed a sheet of acrylic to do some testing. I tried to etch the acrylic using various chemicals and a Dremel, but sandblasting ended up being the best method. I masked off the eyes and nose on a new sheet of acrylic and sandblasted it until the eyes looked smoothly etched.
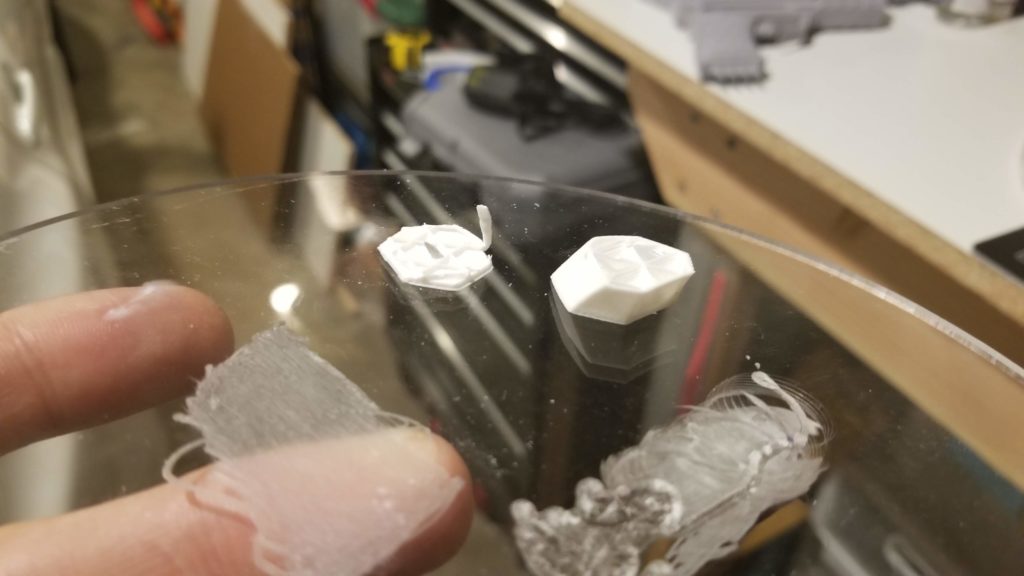
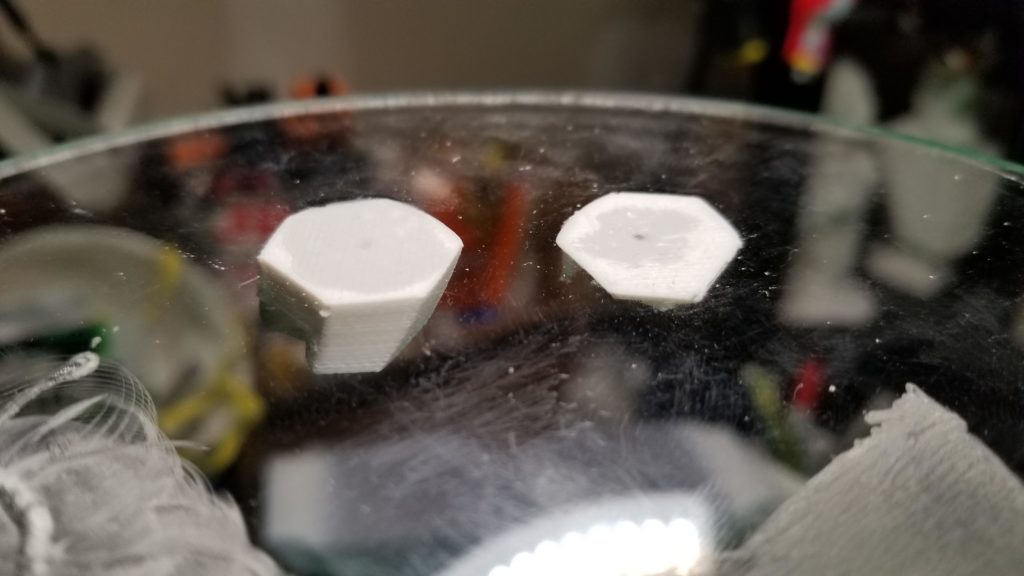
While I had the test sheet out, I used it to see what glue would best bond the acrylic to the 3d printed material (PLA). Both the acrylic glue and super glue worked so well the PLA snapped before the bond broke.
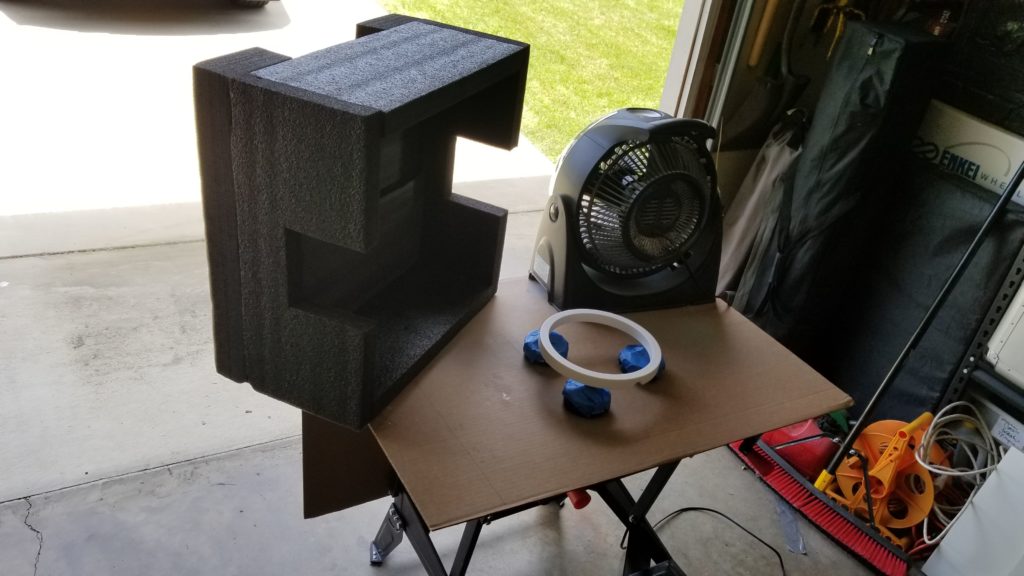
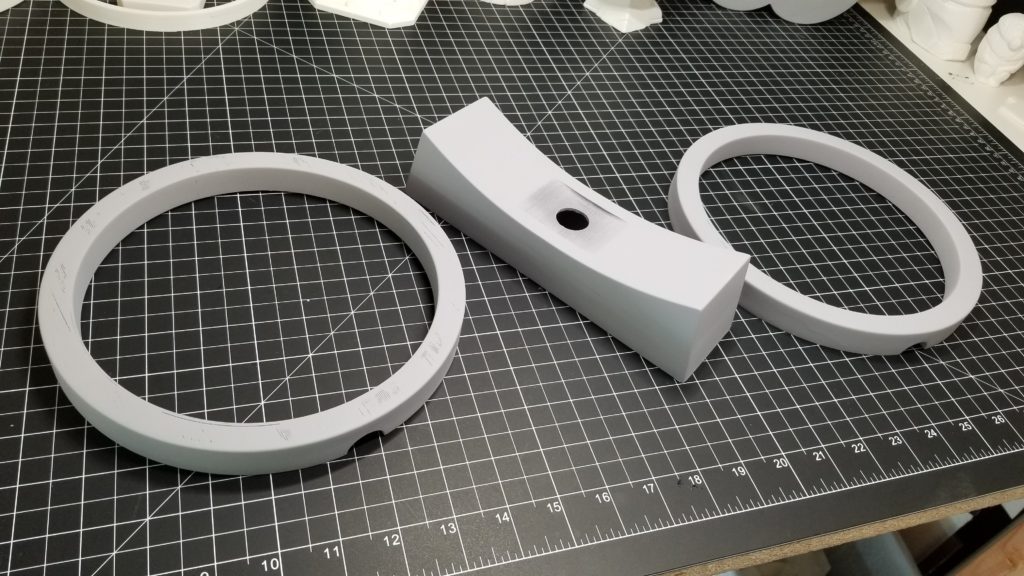
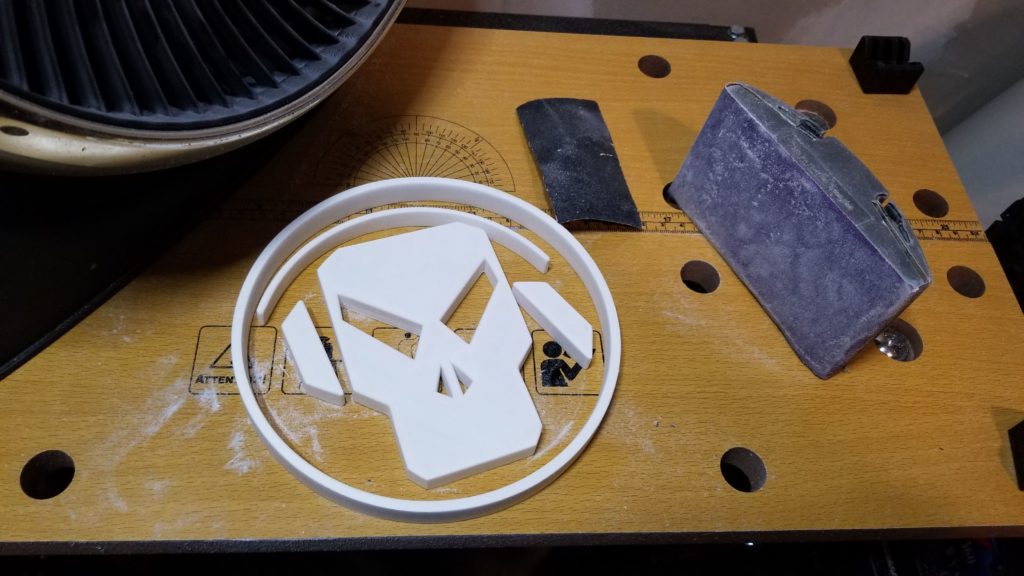
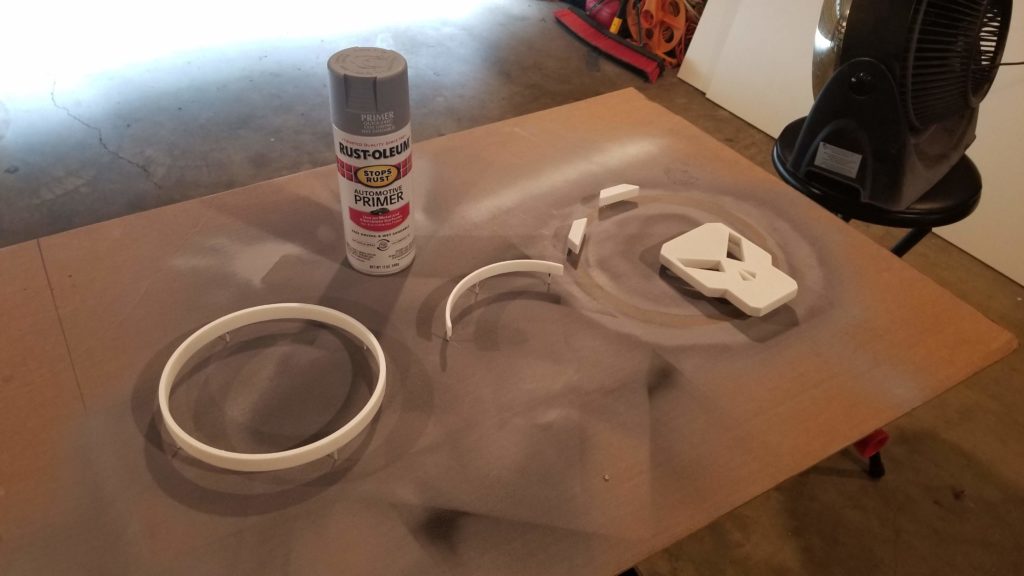
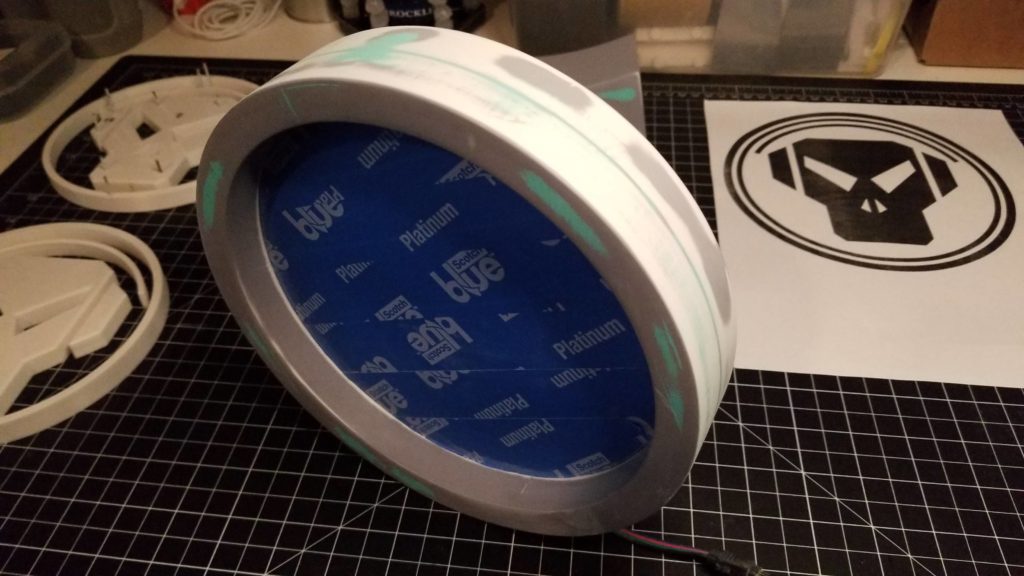
With the acrylic done for now I went back to focus on sanding the stand and outside ring (100 grit to 600 grit) to remove the striations and then sprayed them with filler primer.
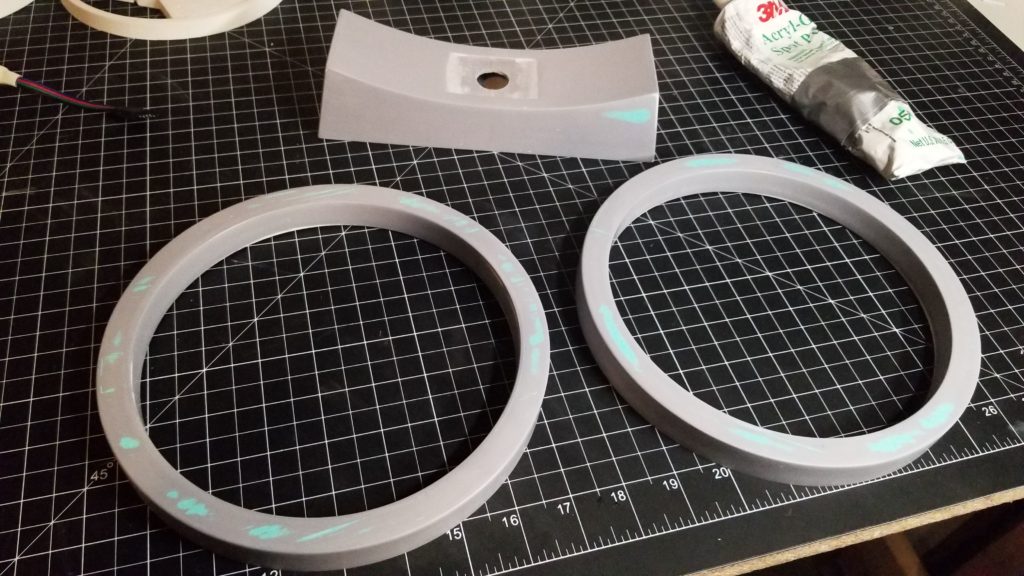
There were quite a few spots that sanding and primer couldn’t get out, so they were filled with spot putty and then went back for more wet sanding with 600-1200 grit sandpaper.
Ran one last lighting test with the LED lights and final piece of acrylic before sandwiching it between the outer ring halves and gluing it all together with 5 minute epoxy.
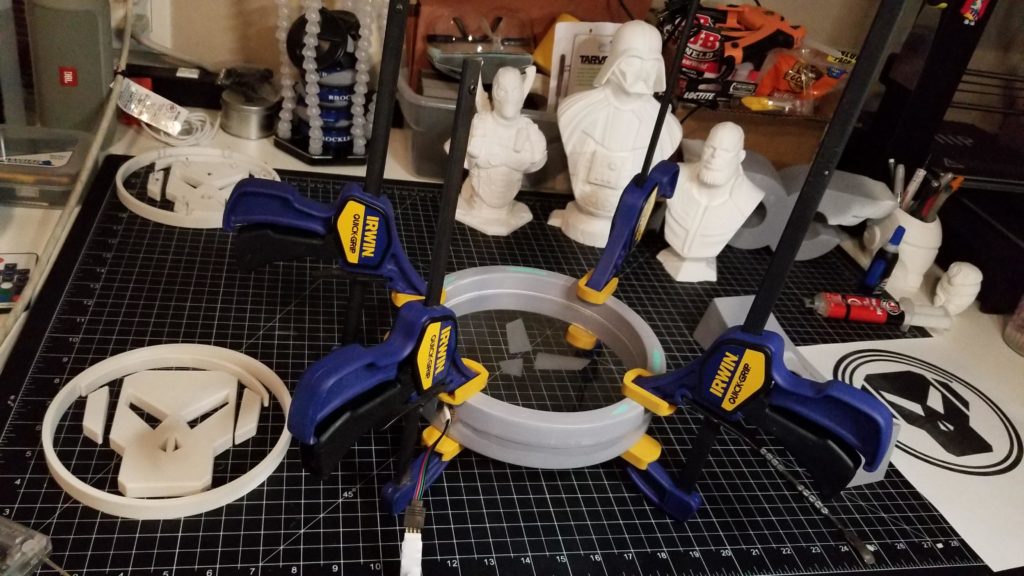
I scraped off the excess epoxy that oozed out of the seam while it was clamped. Prepped for the final paint job (sanding, putty the seam, more sanding, another coat of primer, MORE sanding, wet sanding up to 1200 grit…)
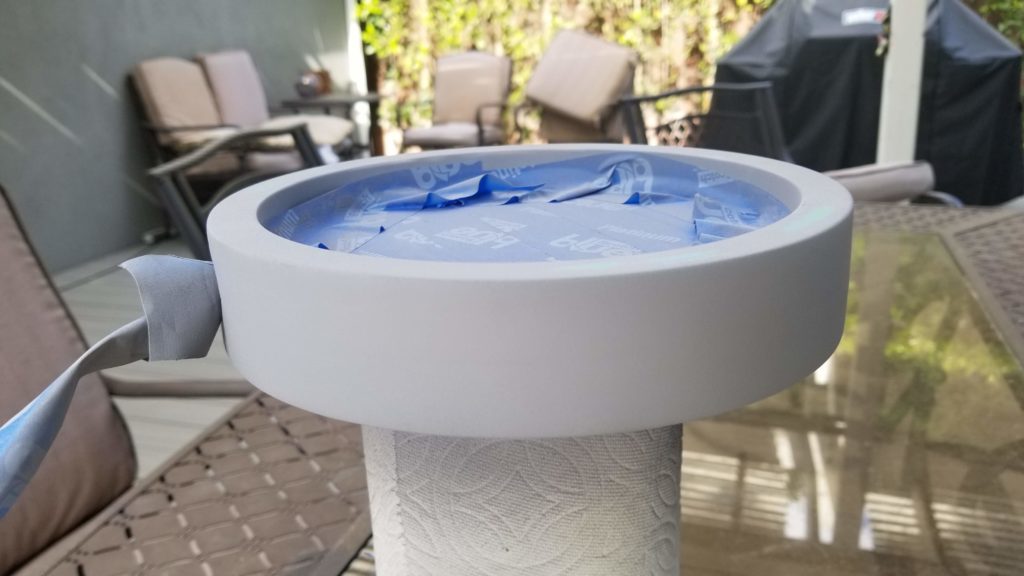
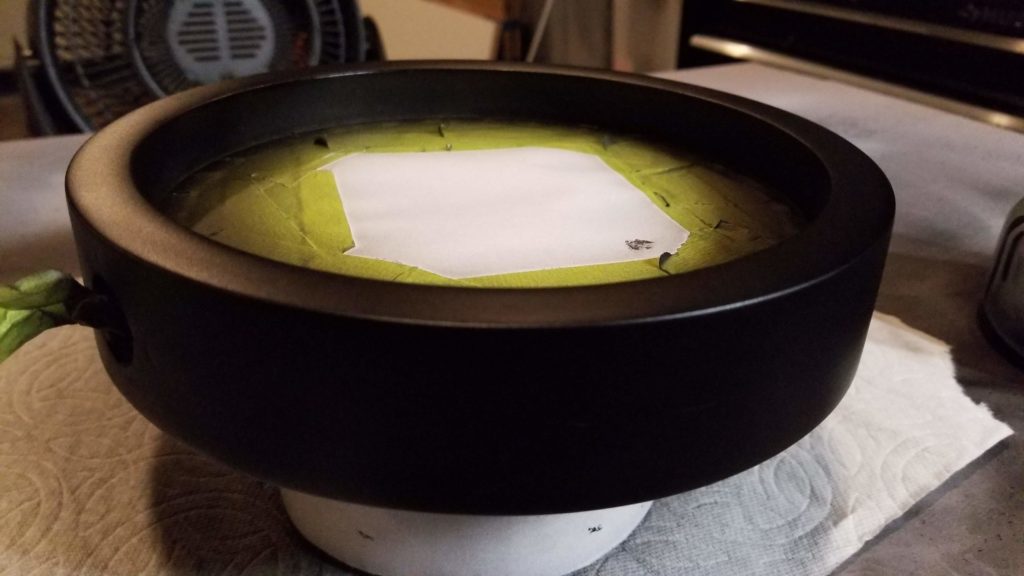
After a lot of prep work, the outside ring is ready for paint! The initial masking was temporary while I worked on the outside edge of the ring. so I had to remask it properly with edging tape. I covered the etching with paper this time, because the last time I taped over it, there were visible lines left from the adhesive that I had to scrub off. 😕
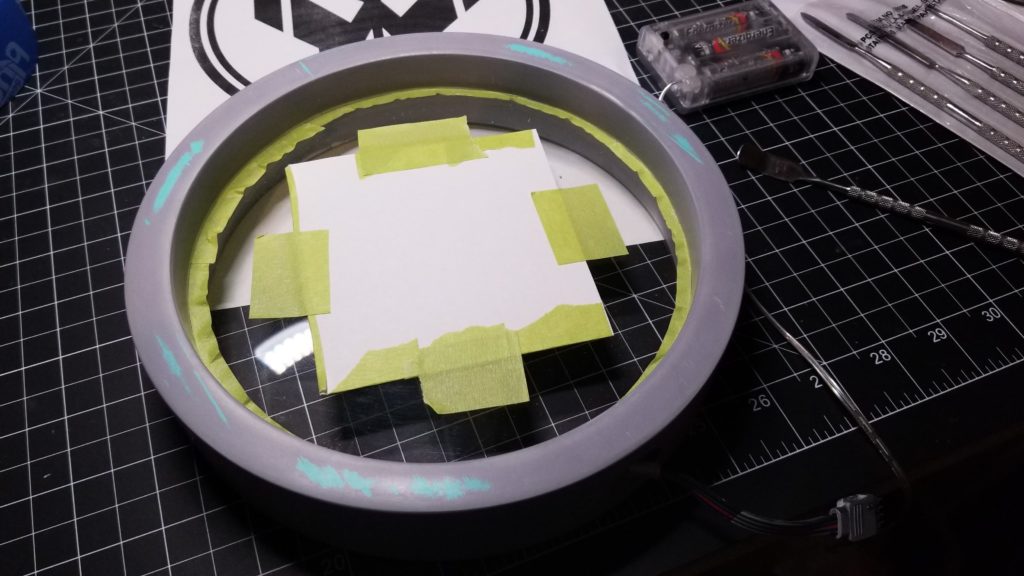
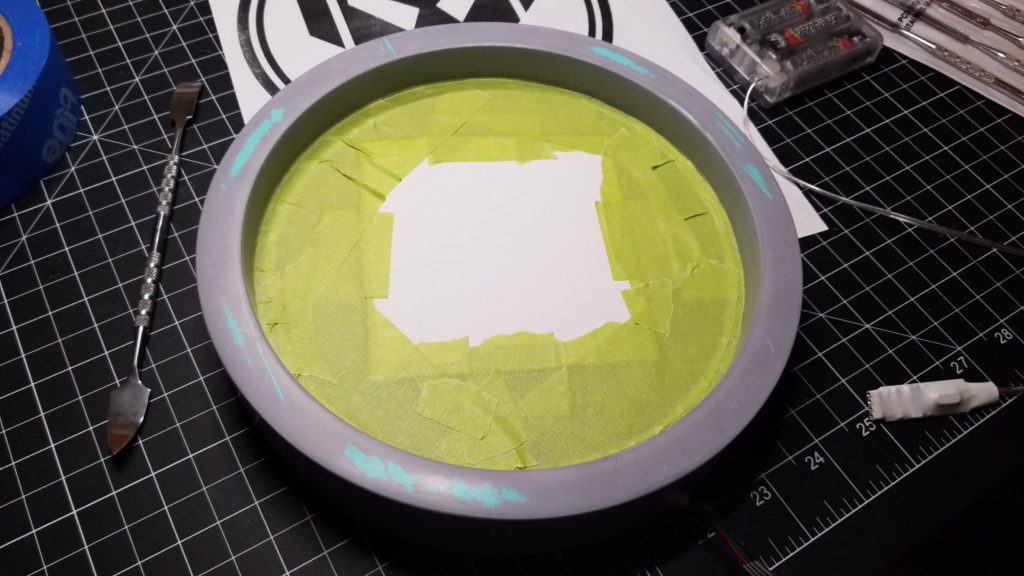
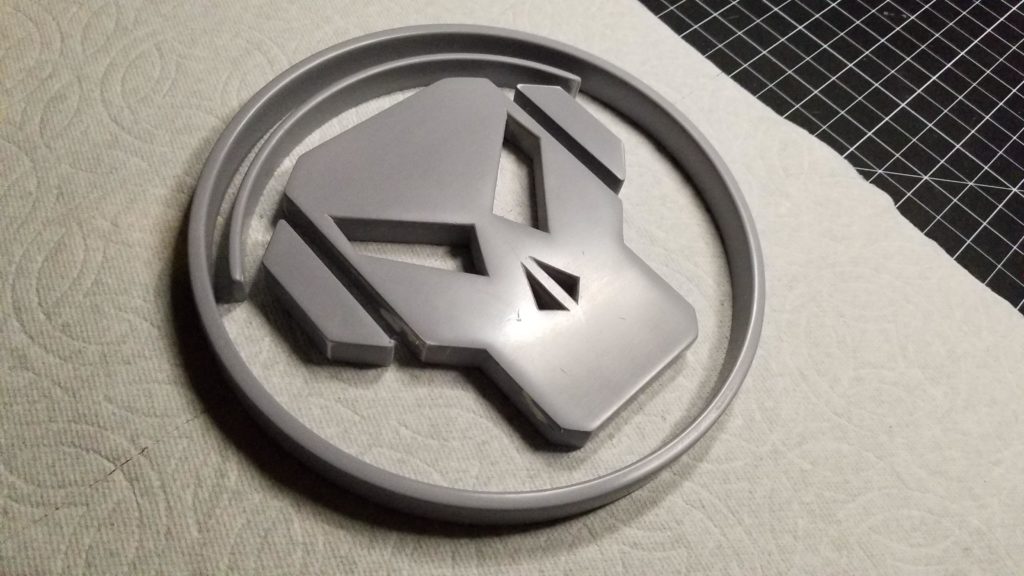
With the main body ready for paint, I started prepping one side of the logo. Which means… more sanding (and priming… and wet sanding up to 1200 grit). The whole process just for these few pieces took about 6-8 hours. I’m only doing one side (the back) for now as a test run before finishing the front side logo later.
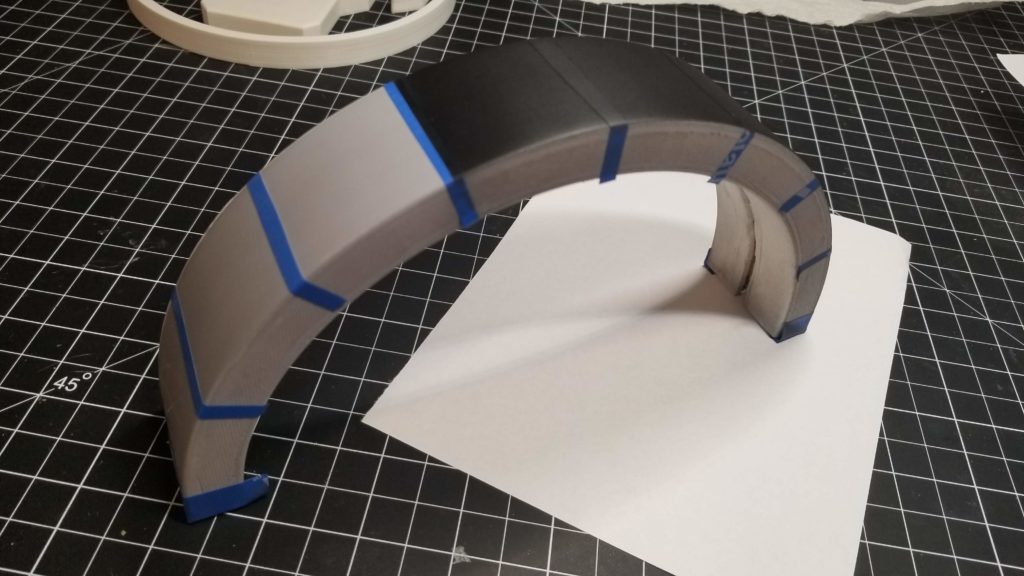
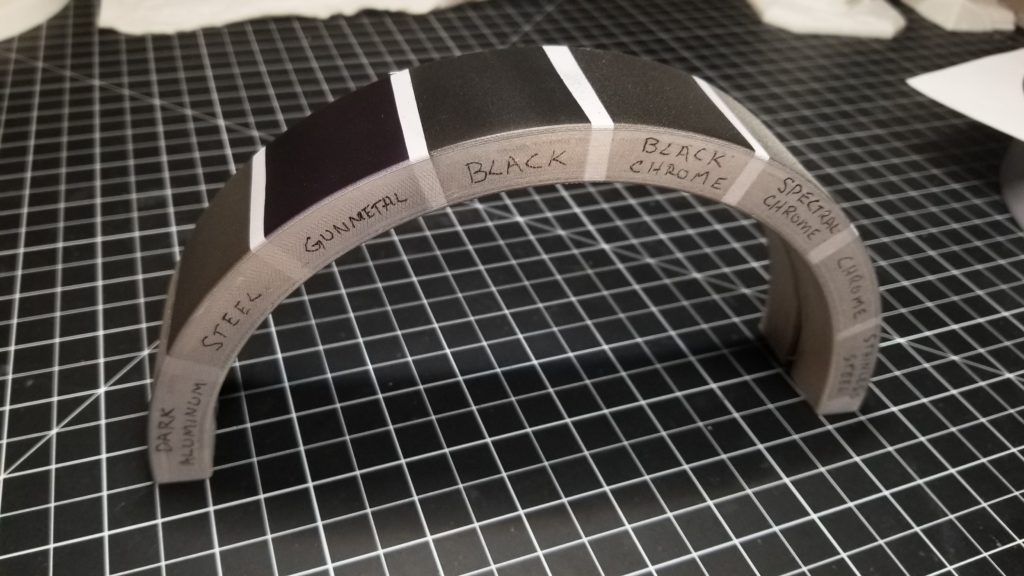
Since we’re at the point of painting, I wanted to test out some metallic paint colors, so I made a paint swatch from the unusable half of outer ring to figure out what colors I want to use..
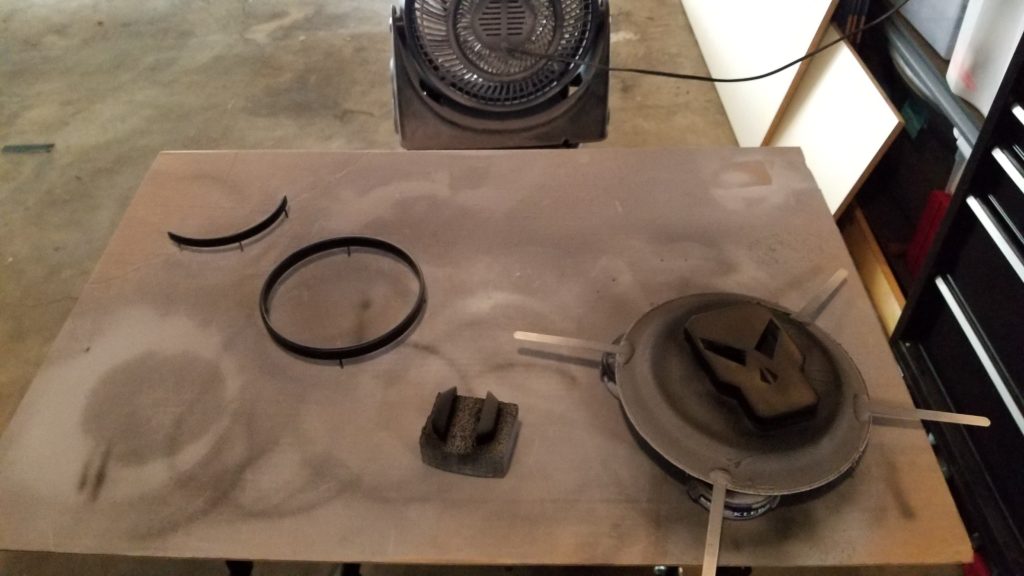
After spraying the stand with black, I decided to leave it that color. I’ll give it a matte clear coat later on.
The outer ring will be a black chrome, so first it gets a base coat of glossy black paint…
And then coated in a black chrome metallic finish (it’s really hard to tell the difference in pictures).
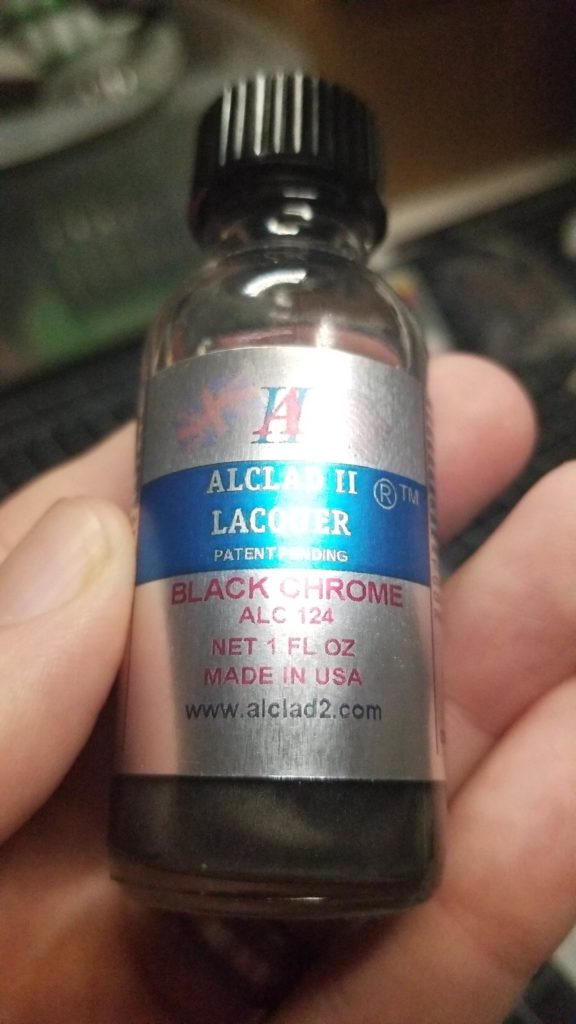
The logo will be painted in stainless steel (I mean… it’s Metalheadz, right?). But first, it needs the black base coat….
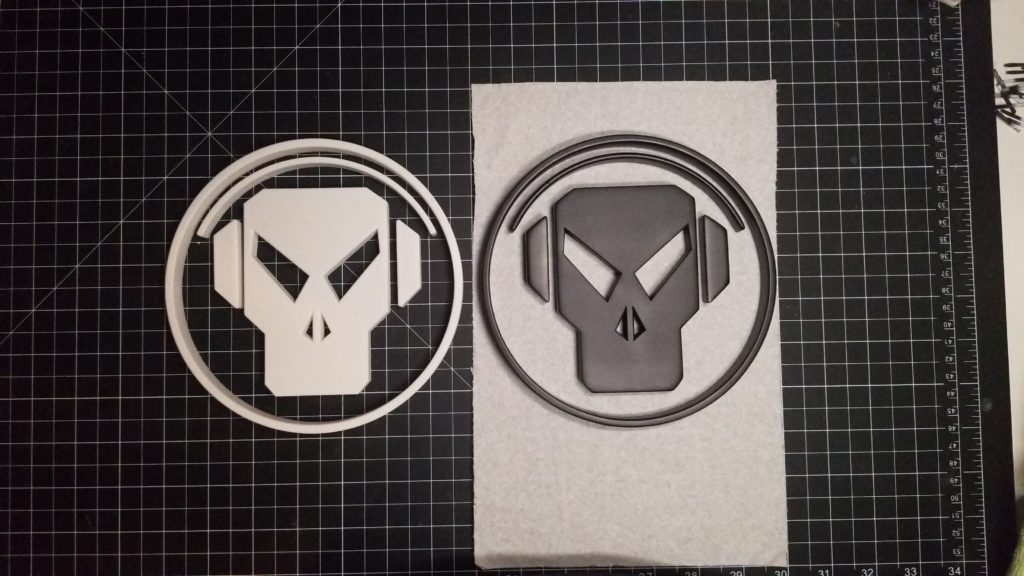
And then the stainless steel.
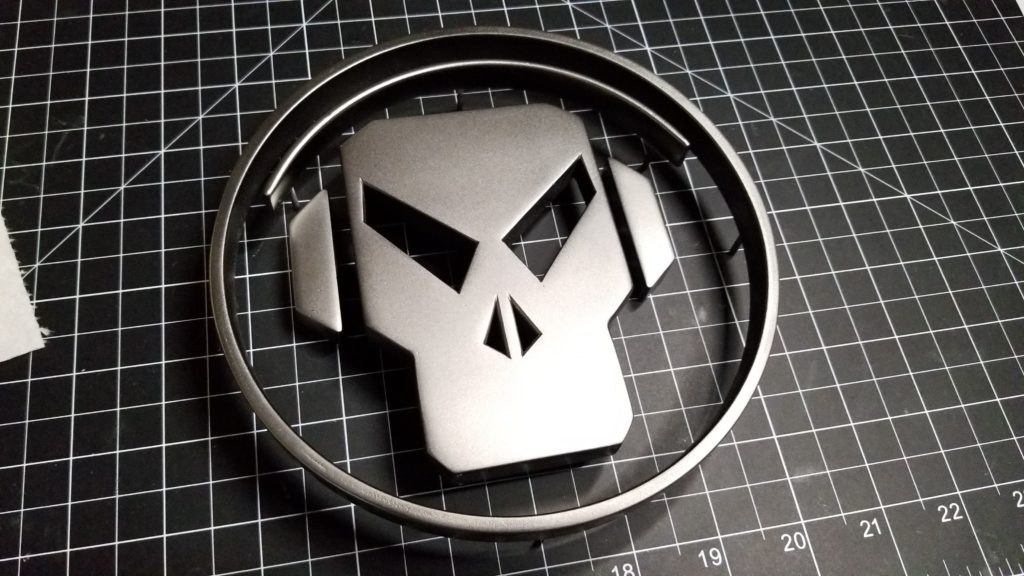
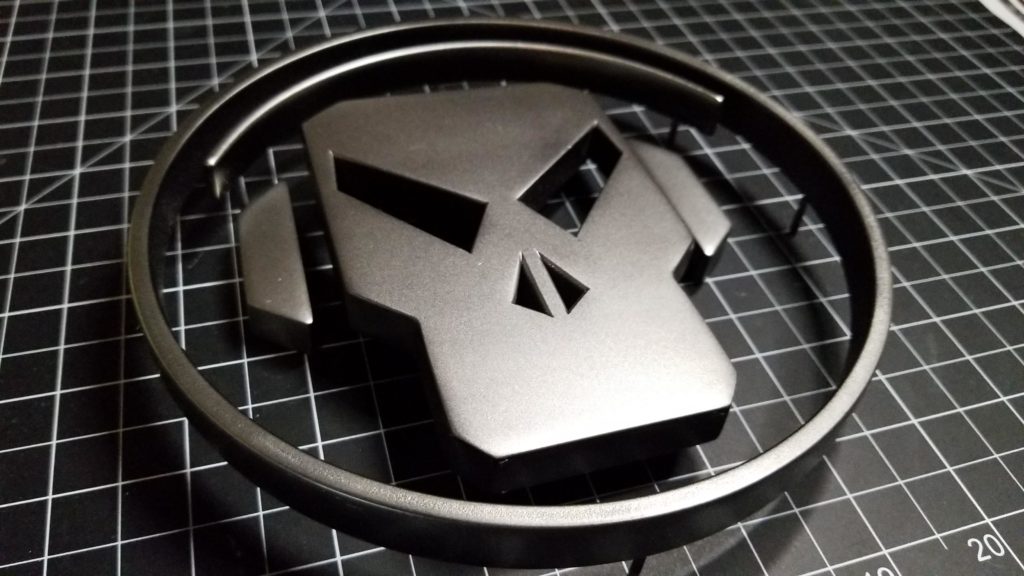
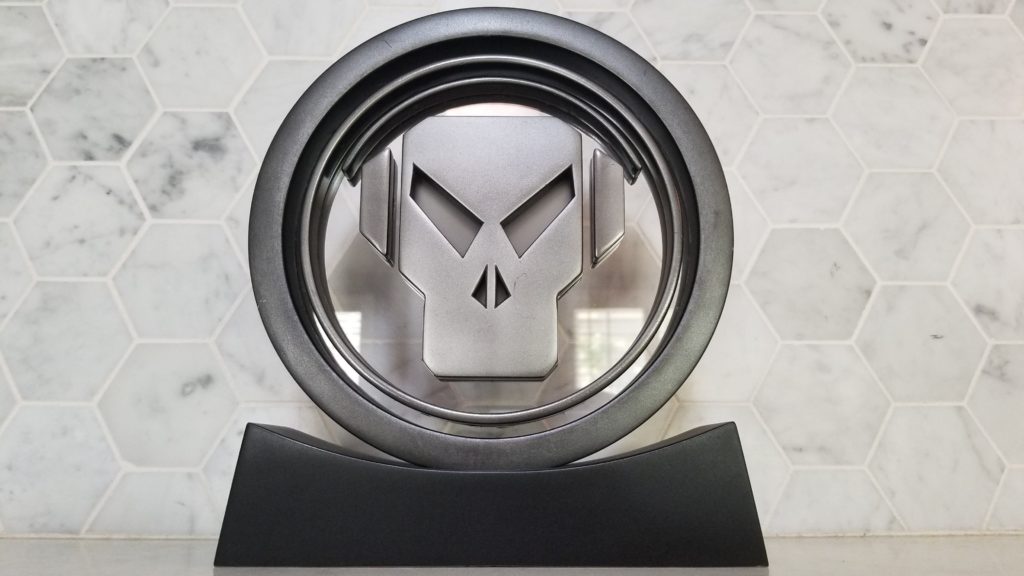
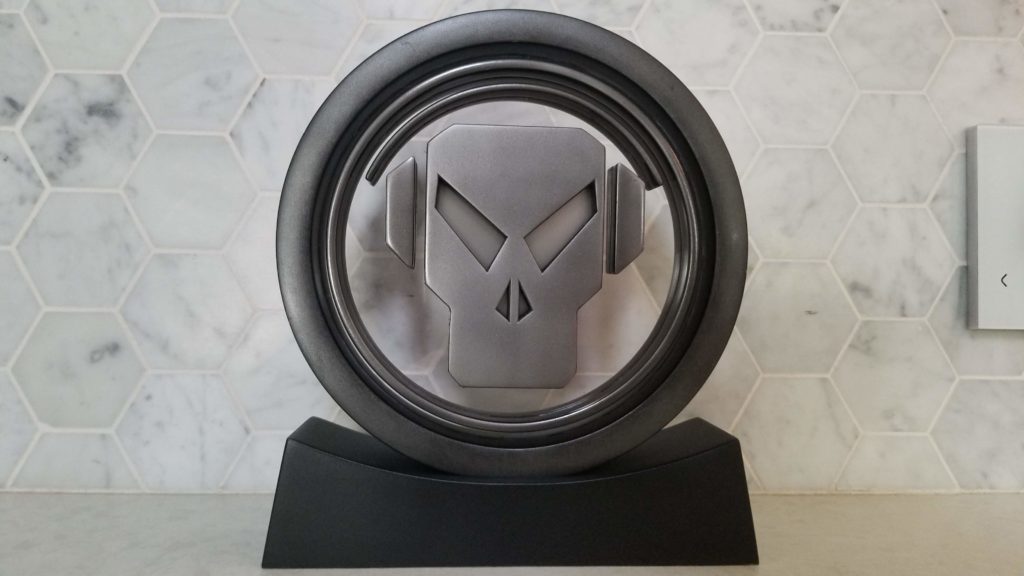
After the ring and the logo received several clear coats, we can finally start to see what it’s going to look like fully assembled! The black chrome and stainless steel look great next to each other! 😁 The ring and base also contrast well.
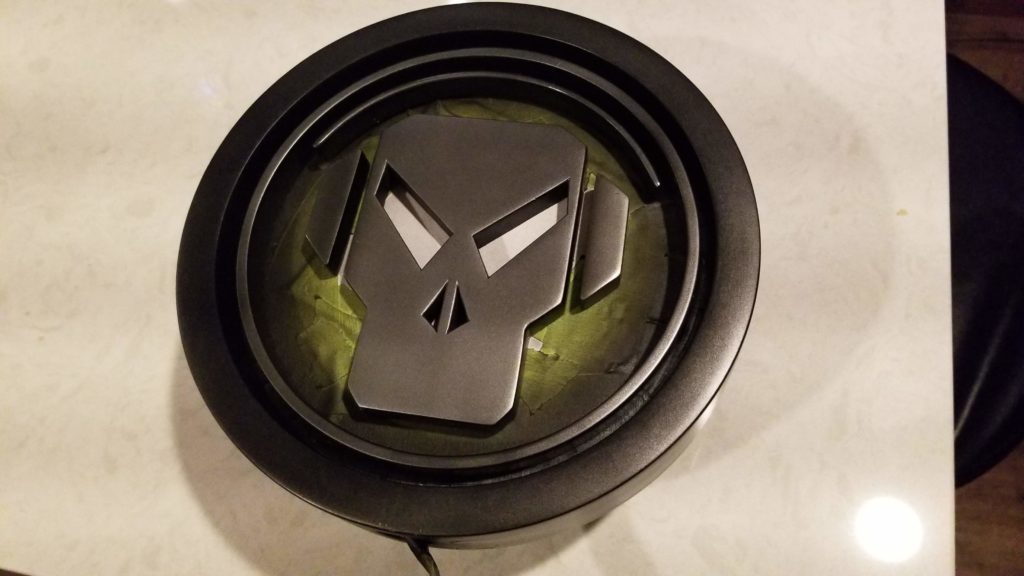
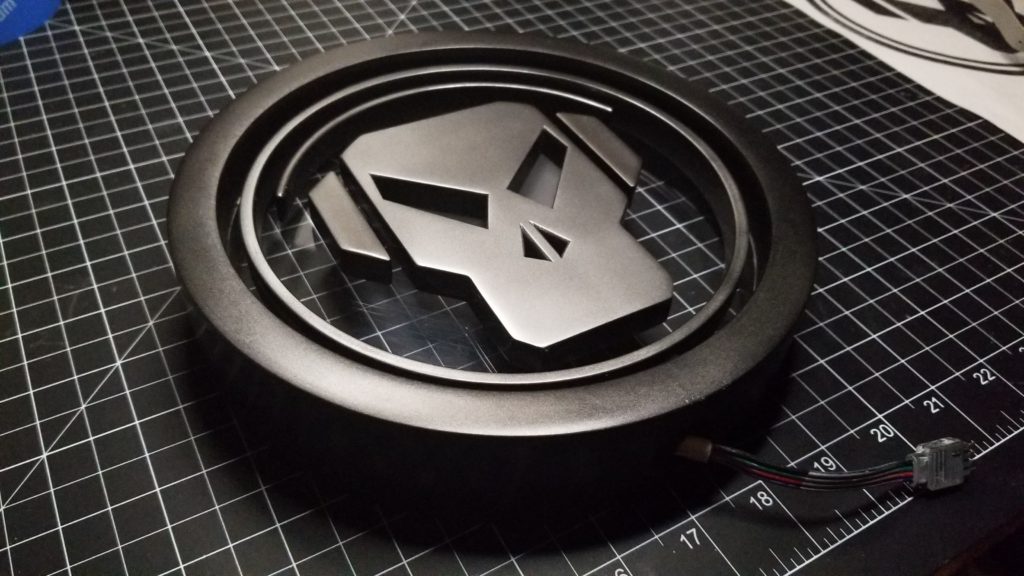
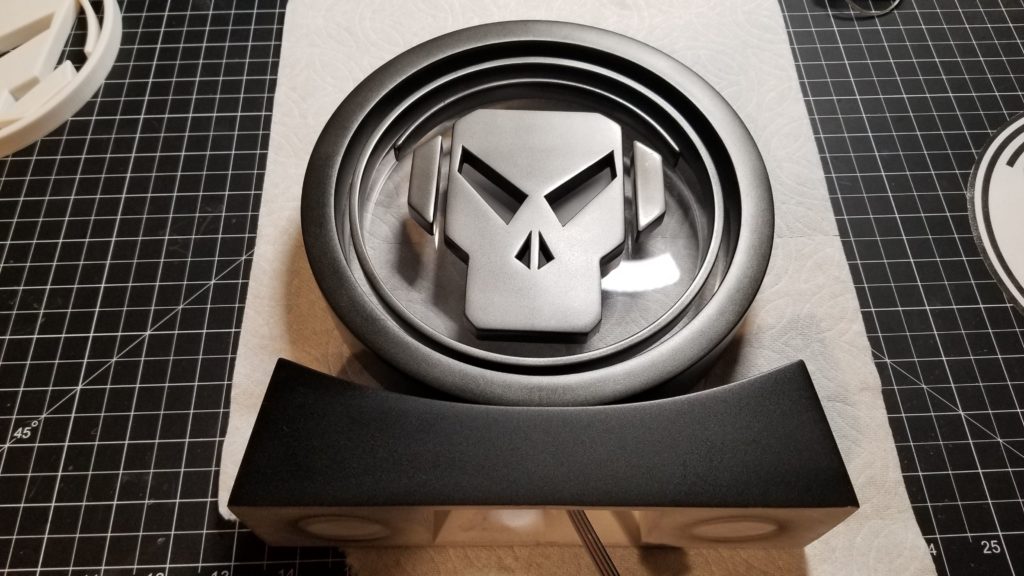
Have a bit more sanding to do on the front logo. I want this one to look nice, so I’ll spend a little extra time making sure it’s extra smooth.
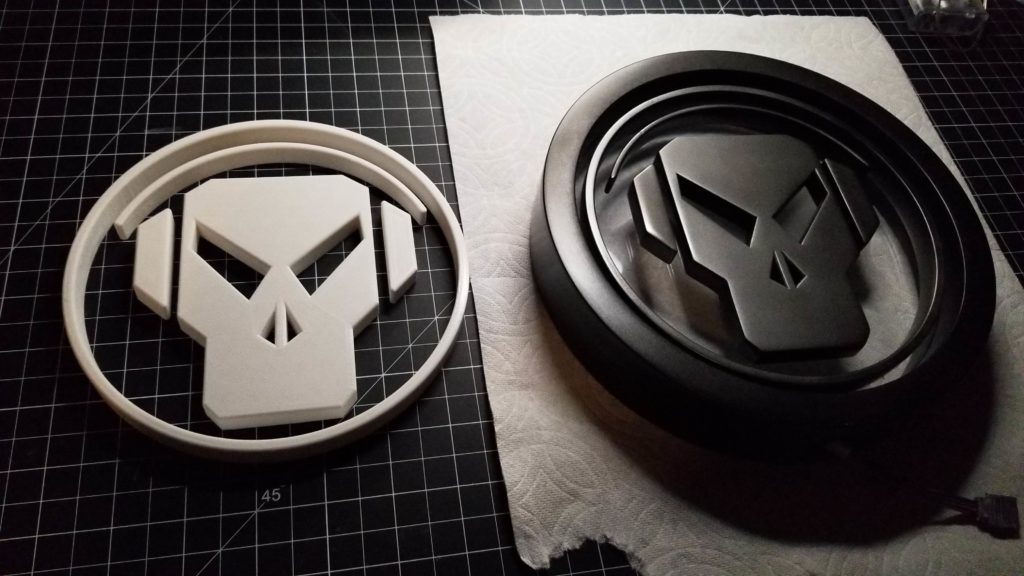
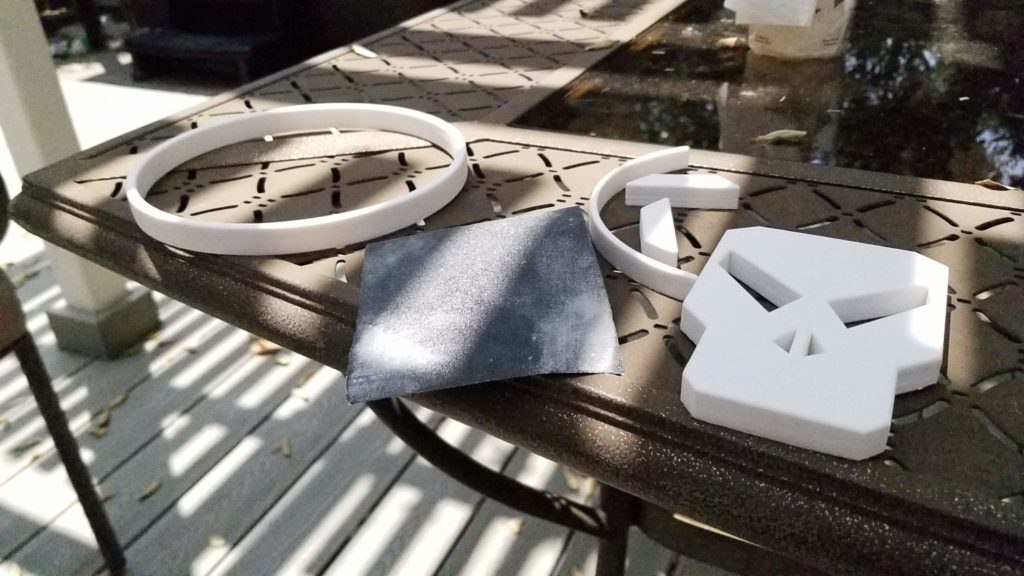
Here’s a great example of why you need to spend time on sanding. You really need to get in there with a rough grit (120) to remove some of the printing lines. Once I sanded incrementally up to 600 grit it was sprayed with primer.
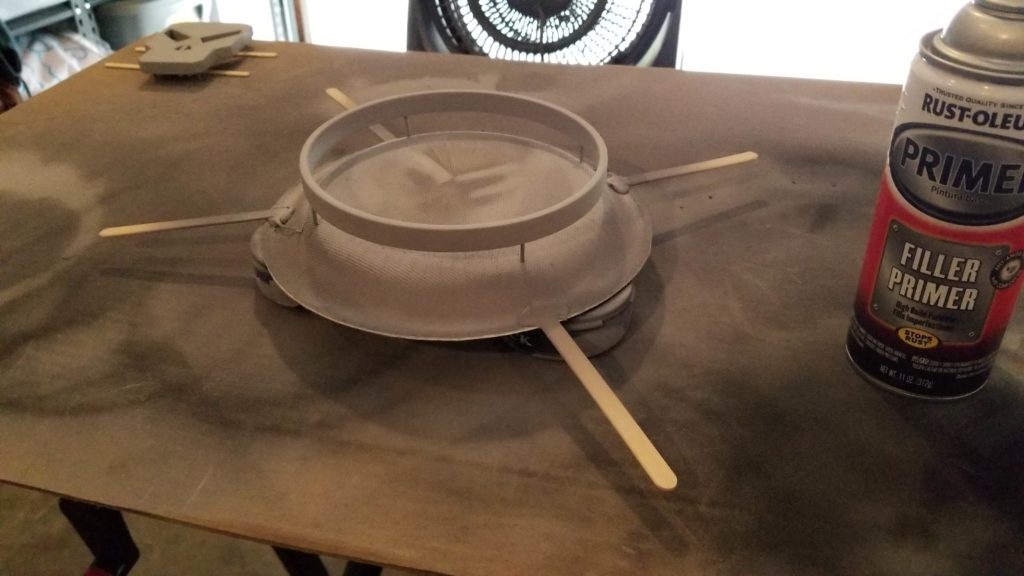
After sitting on the workbench for several weeks it picked up a couple of dings & scratches that needed patching, more sanding, re-primer and more wet sanding (up to 1200 grit).
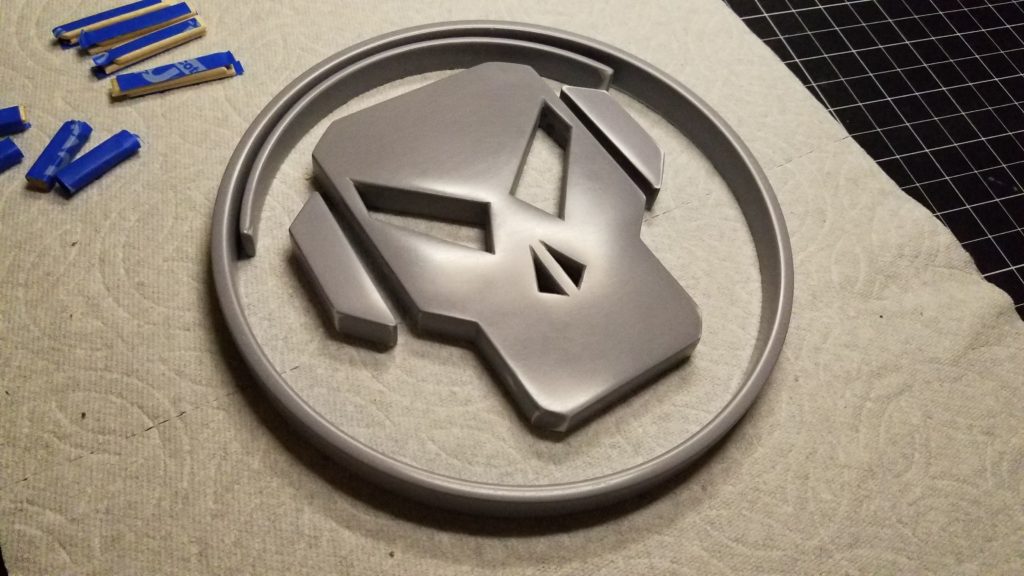
My face when I’m officially done sanding on this project:
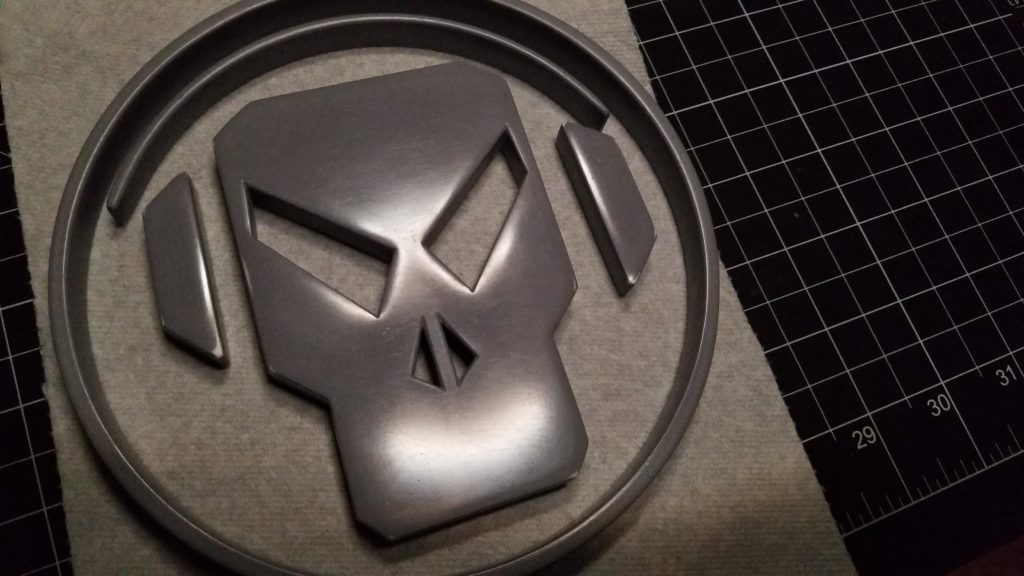
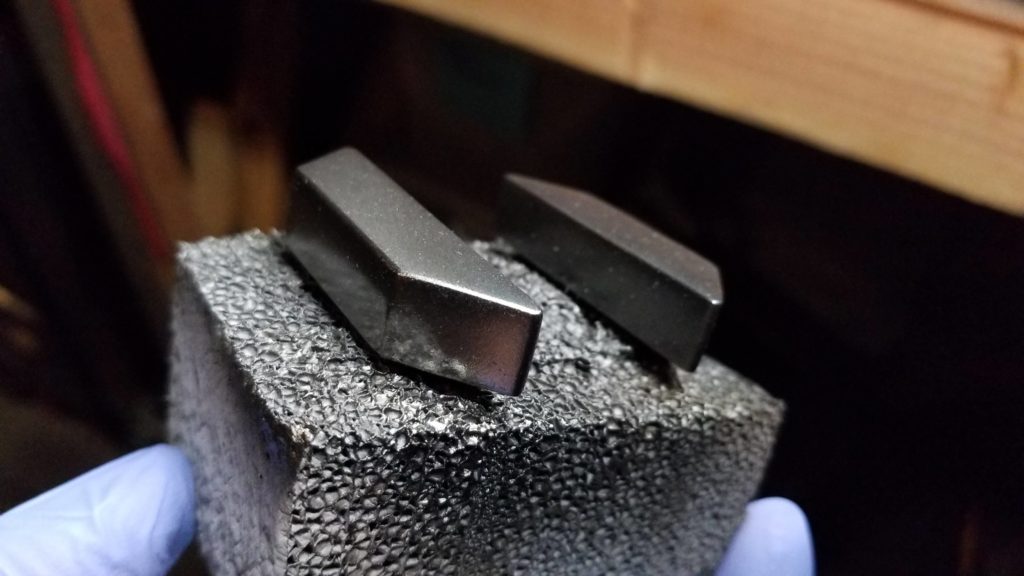
For the last time… Glossy black undercoat with stainless steel on the top.
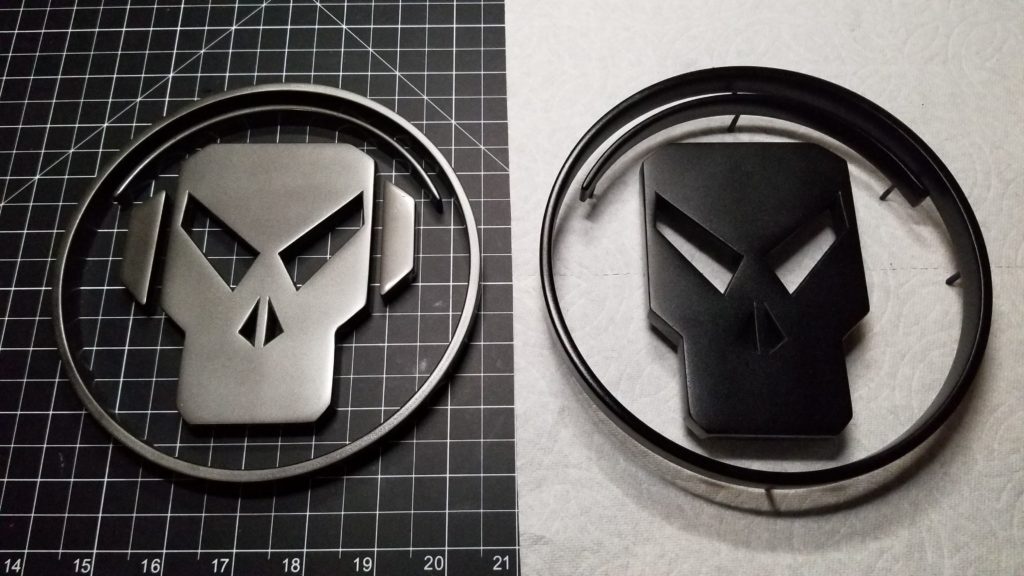
MmmMmMmm… dat reflection…
Time for the final assembly, starting with the logo! In order to help align the logo while gluing to the acrylic, I printed it out on a sheet of paper and cut it to fit inside the outside ring.
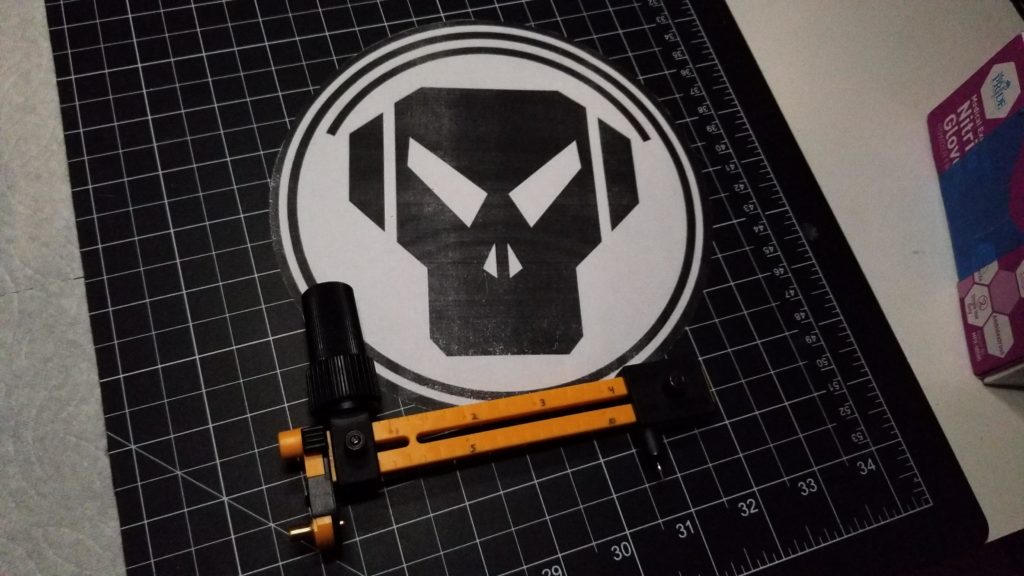
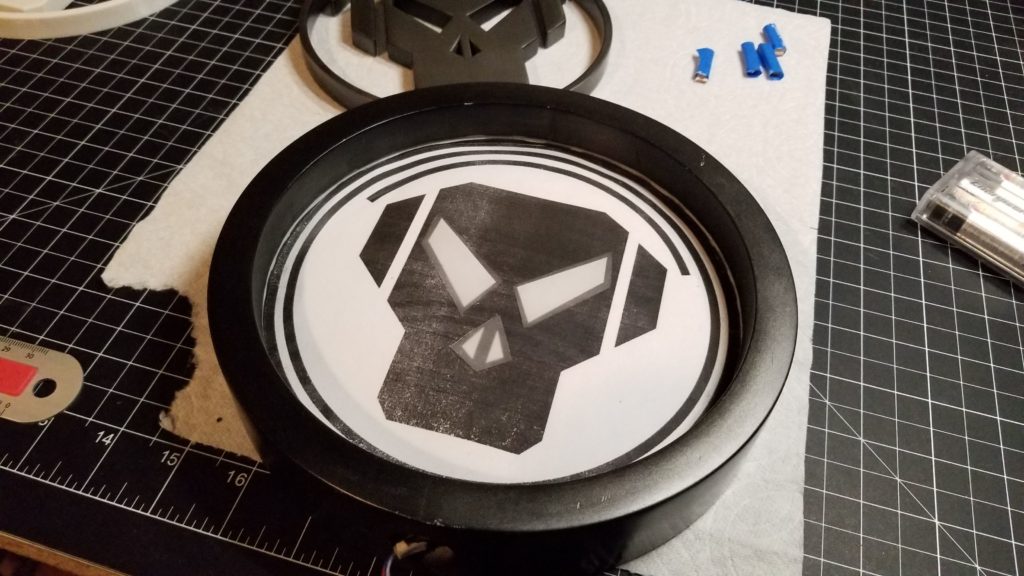
I started with the main logo ring. I made these little spacers out of Popsicle sticks that will allow me to drop it straight down into place without smudging the glue around on the acrylic. For the logo, I used super glue because I wanted it to set quicker than 5 minute epoxy.
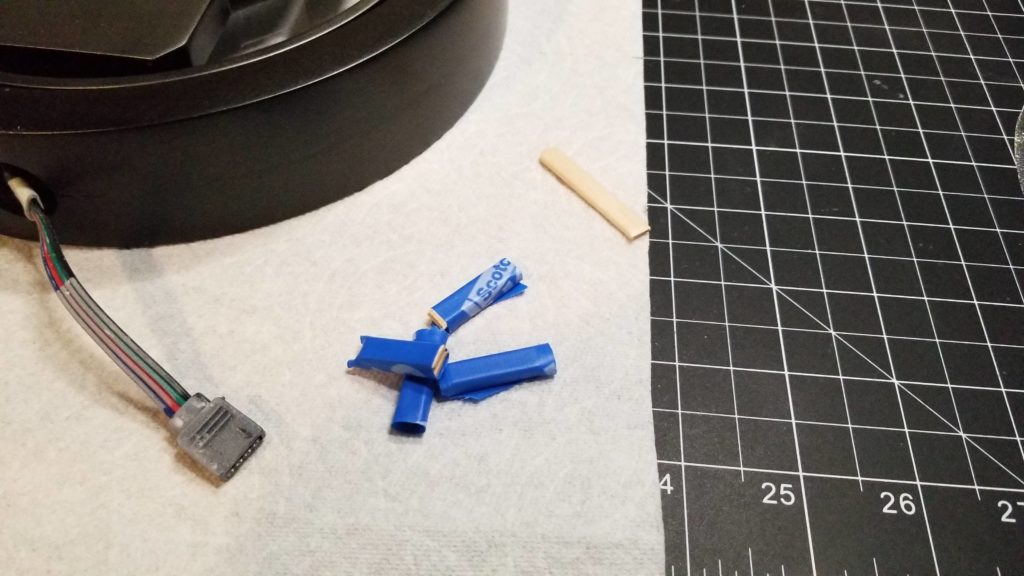
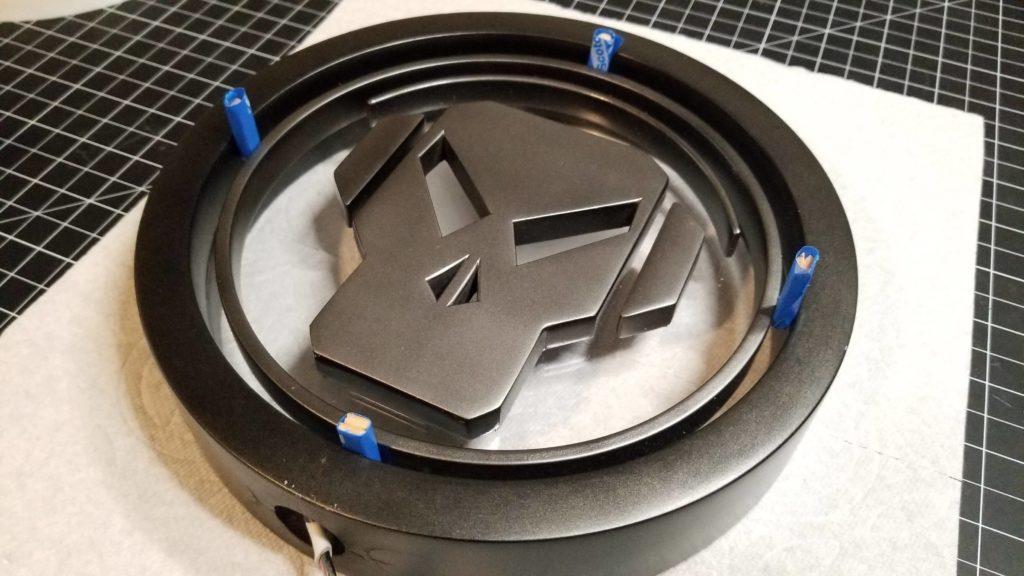
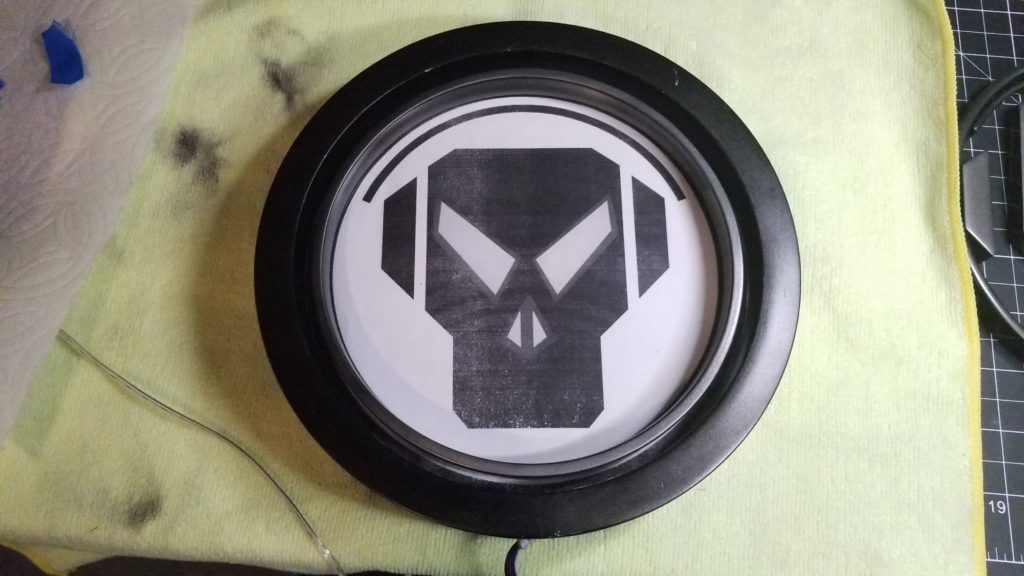
Same concept for the headband. I used the spacers to make sure it was properly spaced from the ring and lined up the corners to the printed logo below before dropping it straight down. For the ear phones and head, I lined those up to the printed logo by hand.
Now it’s time to super glue the logo to the other side. You can see I was not being pretty with the glue, but it will hold and won’t be seen (except for a couple small parts where I was overzealous with the glue bead).
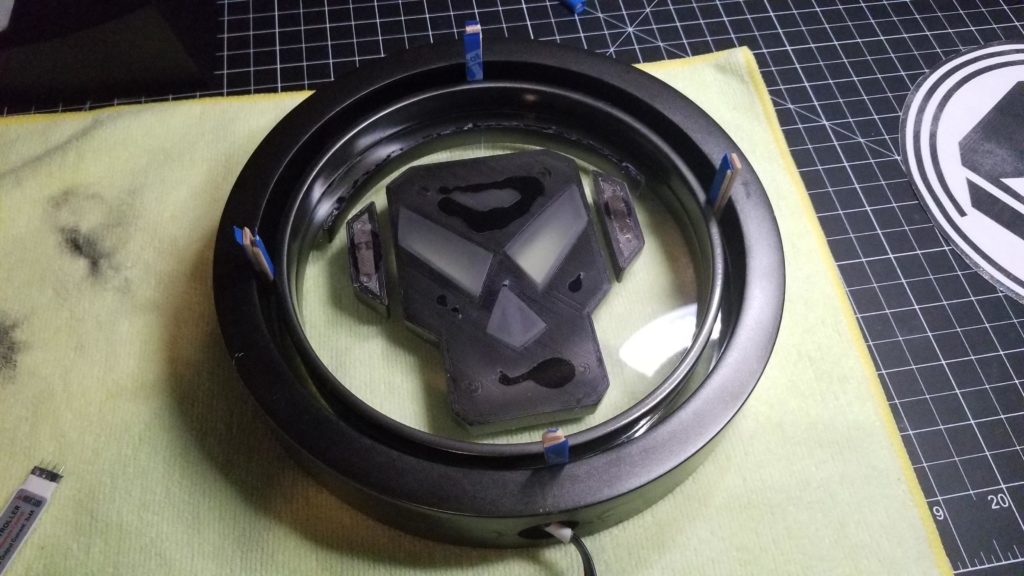
The final piece!
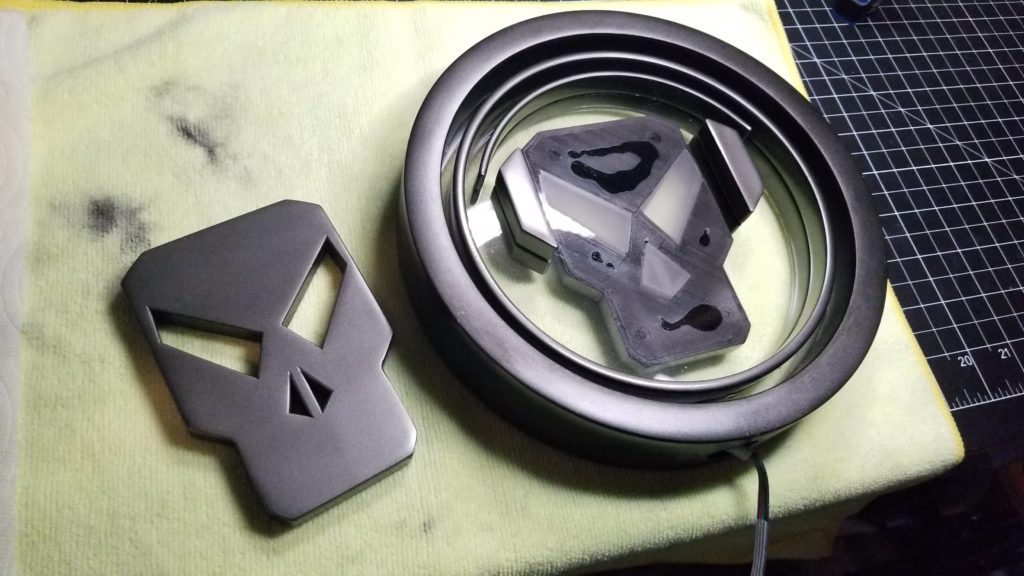
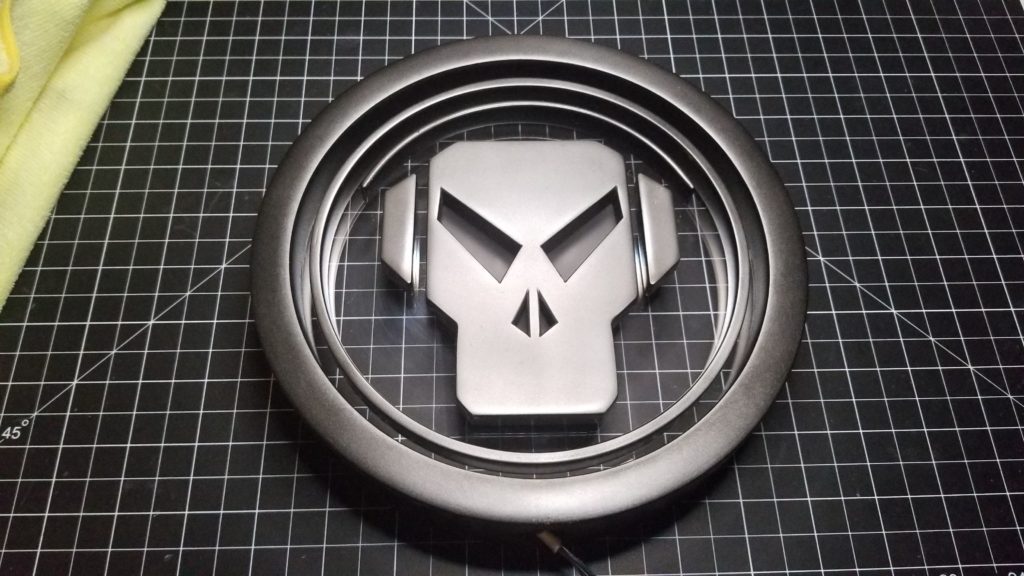
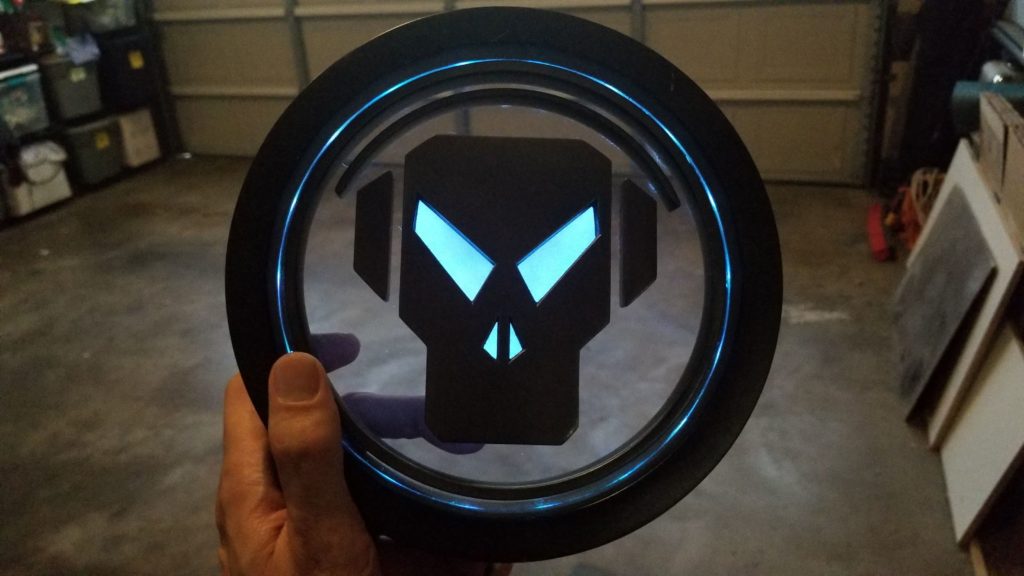
The last thing left to do is glue the logo ring to the base. I used 5 minute epoxy for this and clamped it to my workbench until it cured.
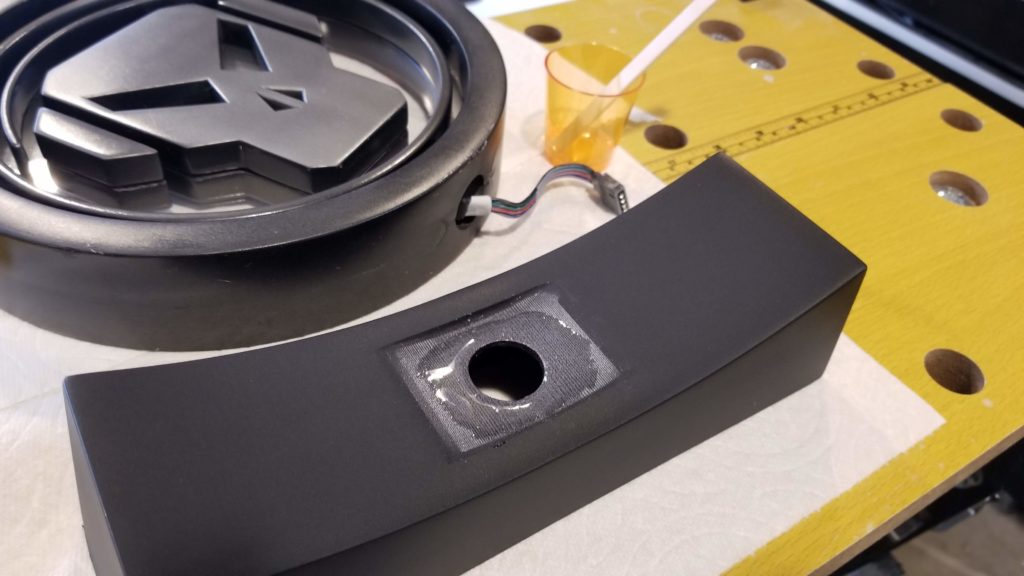
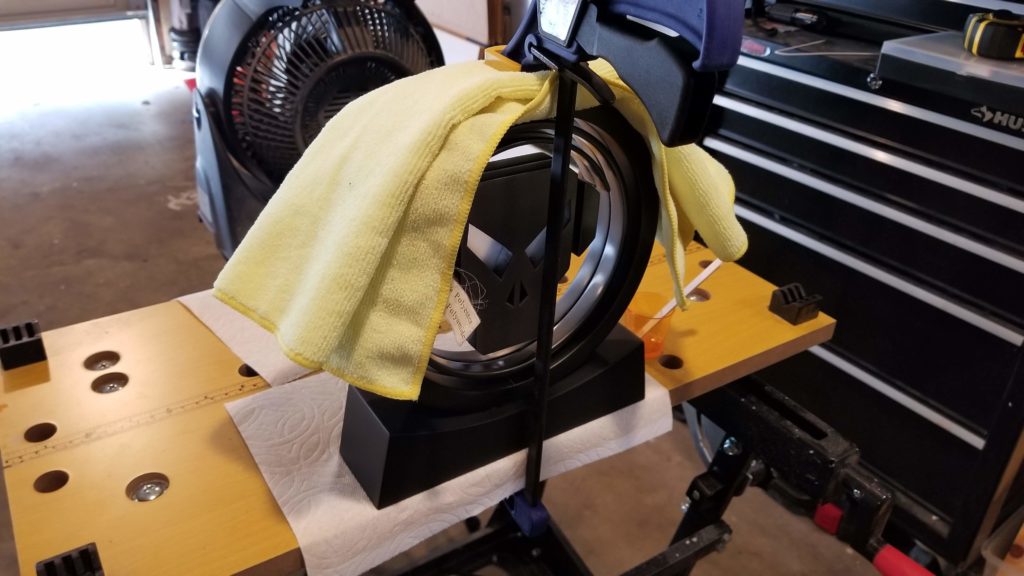
And with that… It’s DONE!














Amazing work. I absolutely love the Metalheadz label and logo and have been a follower since day one. Any chance you would build and sell one of these? I’d even buy one without the lights.
awesome!
Wow! Incredible, just fantastic looking.
Hi man!
I wonder if you sell one of those metalheadz lamps
Kind regards
Thibaut/Shire